
Actually, this is my first Roneo

I was originally considering naming this “Wherefore art thou Roneo.” In Shakespeare’s time, mass distribution of written media was accomplished by printing press with wooden or lead letters that were inked and pressed to paper. More commonly, a scribe would write the same thing over and over to get it distributed.
Today, electronic distribution and printing allow almost unlimited distribution. For a reasonably large chunk of time in between, the mimeograph machine was seen as an easy, fairly inexpensive way to make copies.

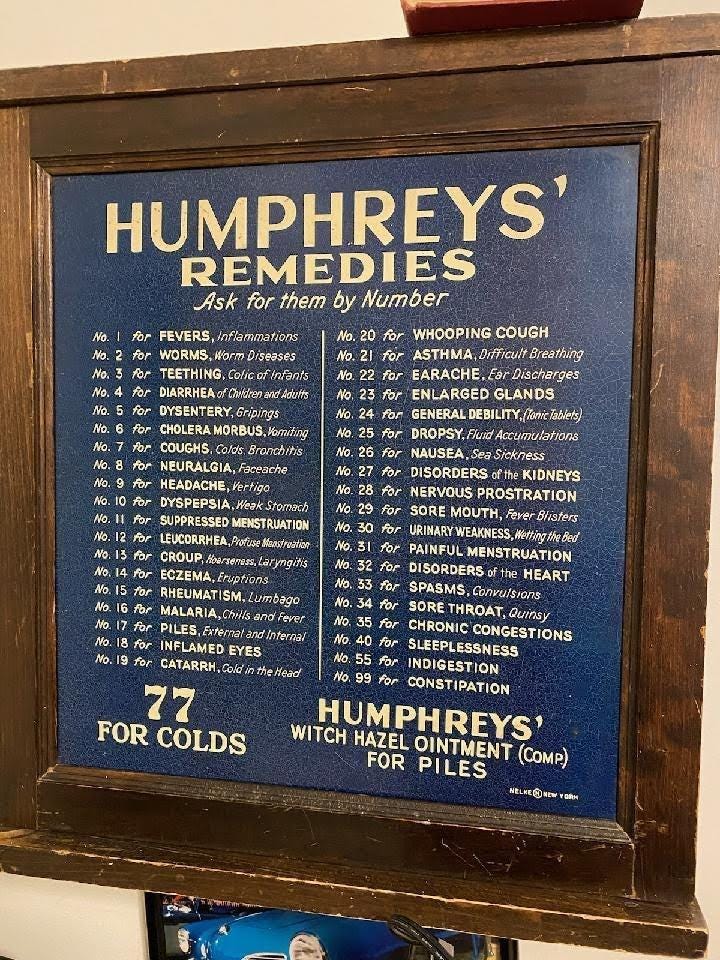
My great, great grandfather and great grandfather each owned small stores in the Philadelphia and Delaware area. My great grandfather had a pharmacy for quite a few years before pharmacies had actual requirements for the type of people who could handle and sell drugs. This case for Humphreys’ Remedies is still kicking around the family.
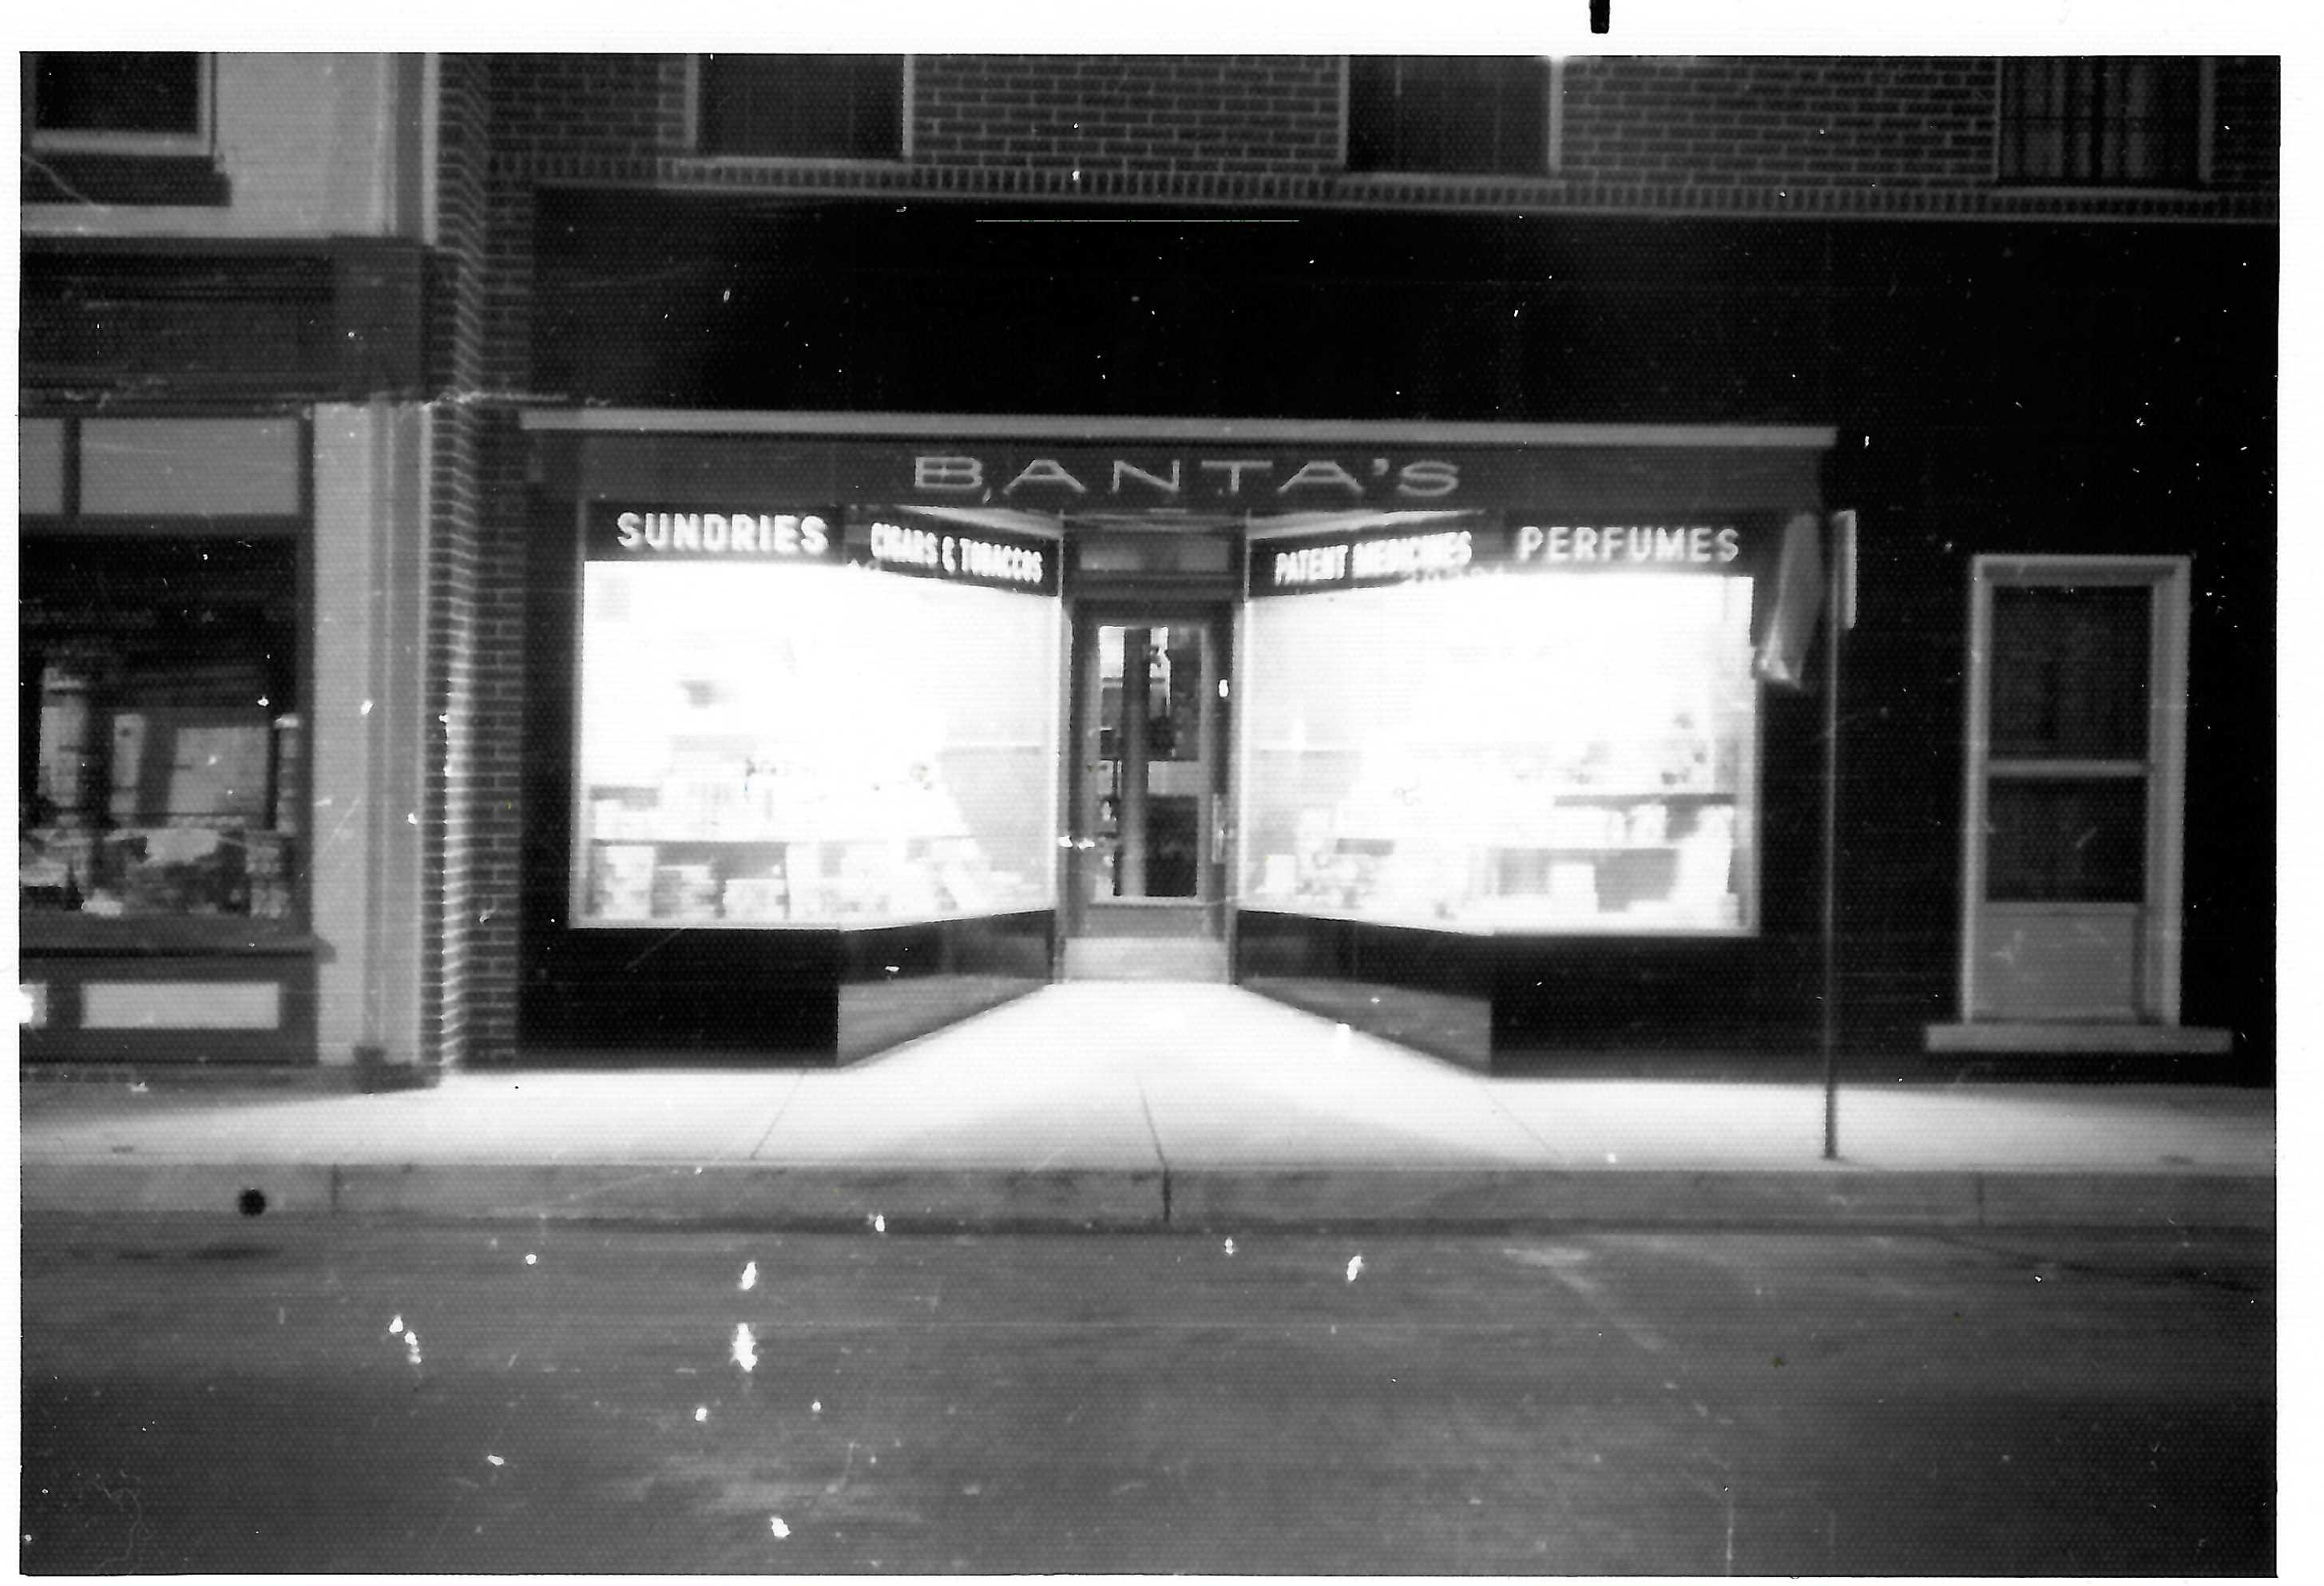
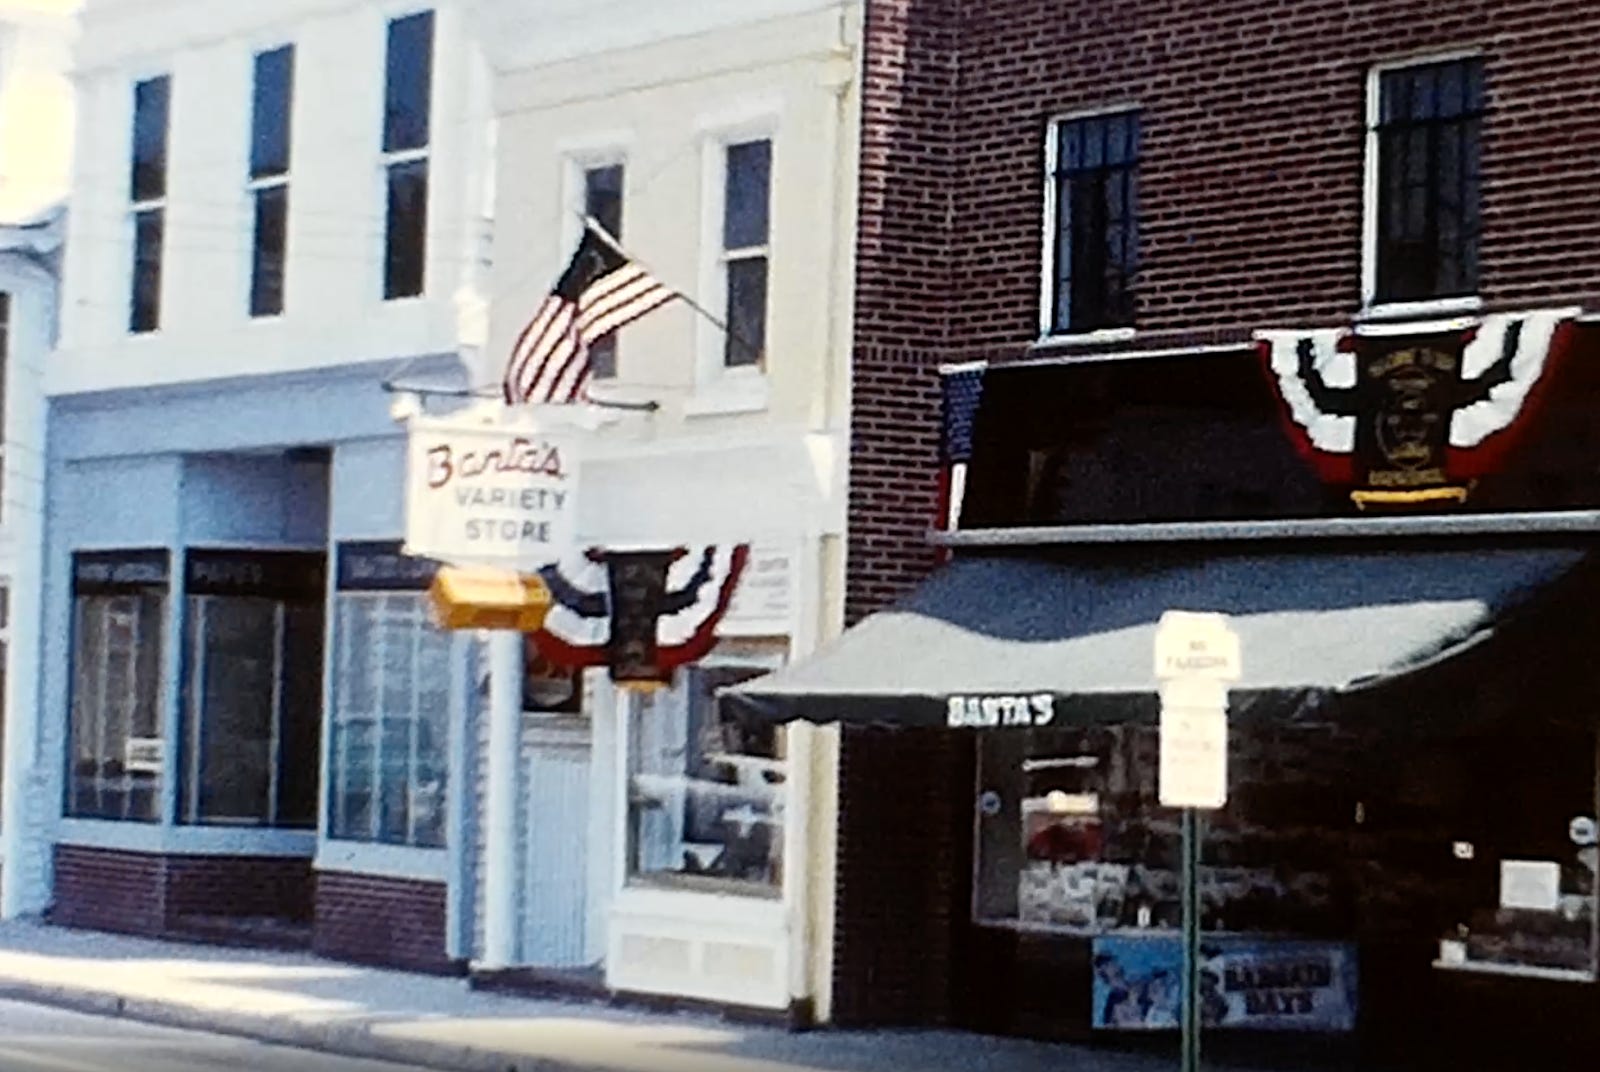
After that, the shop simply became a sundries and variety shop.
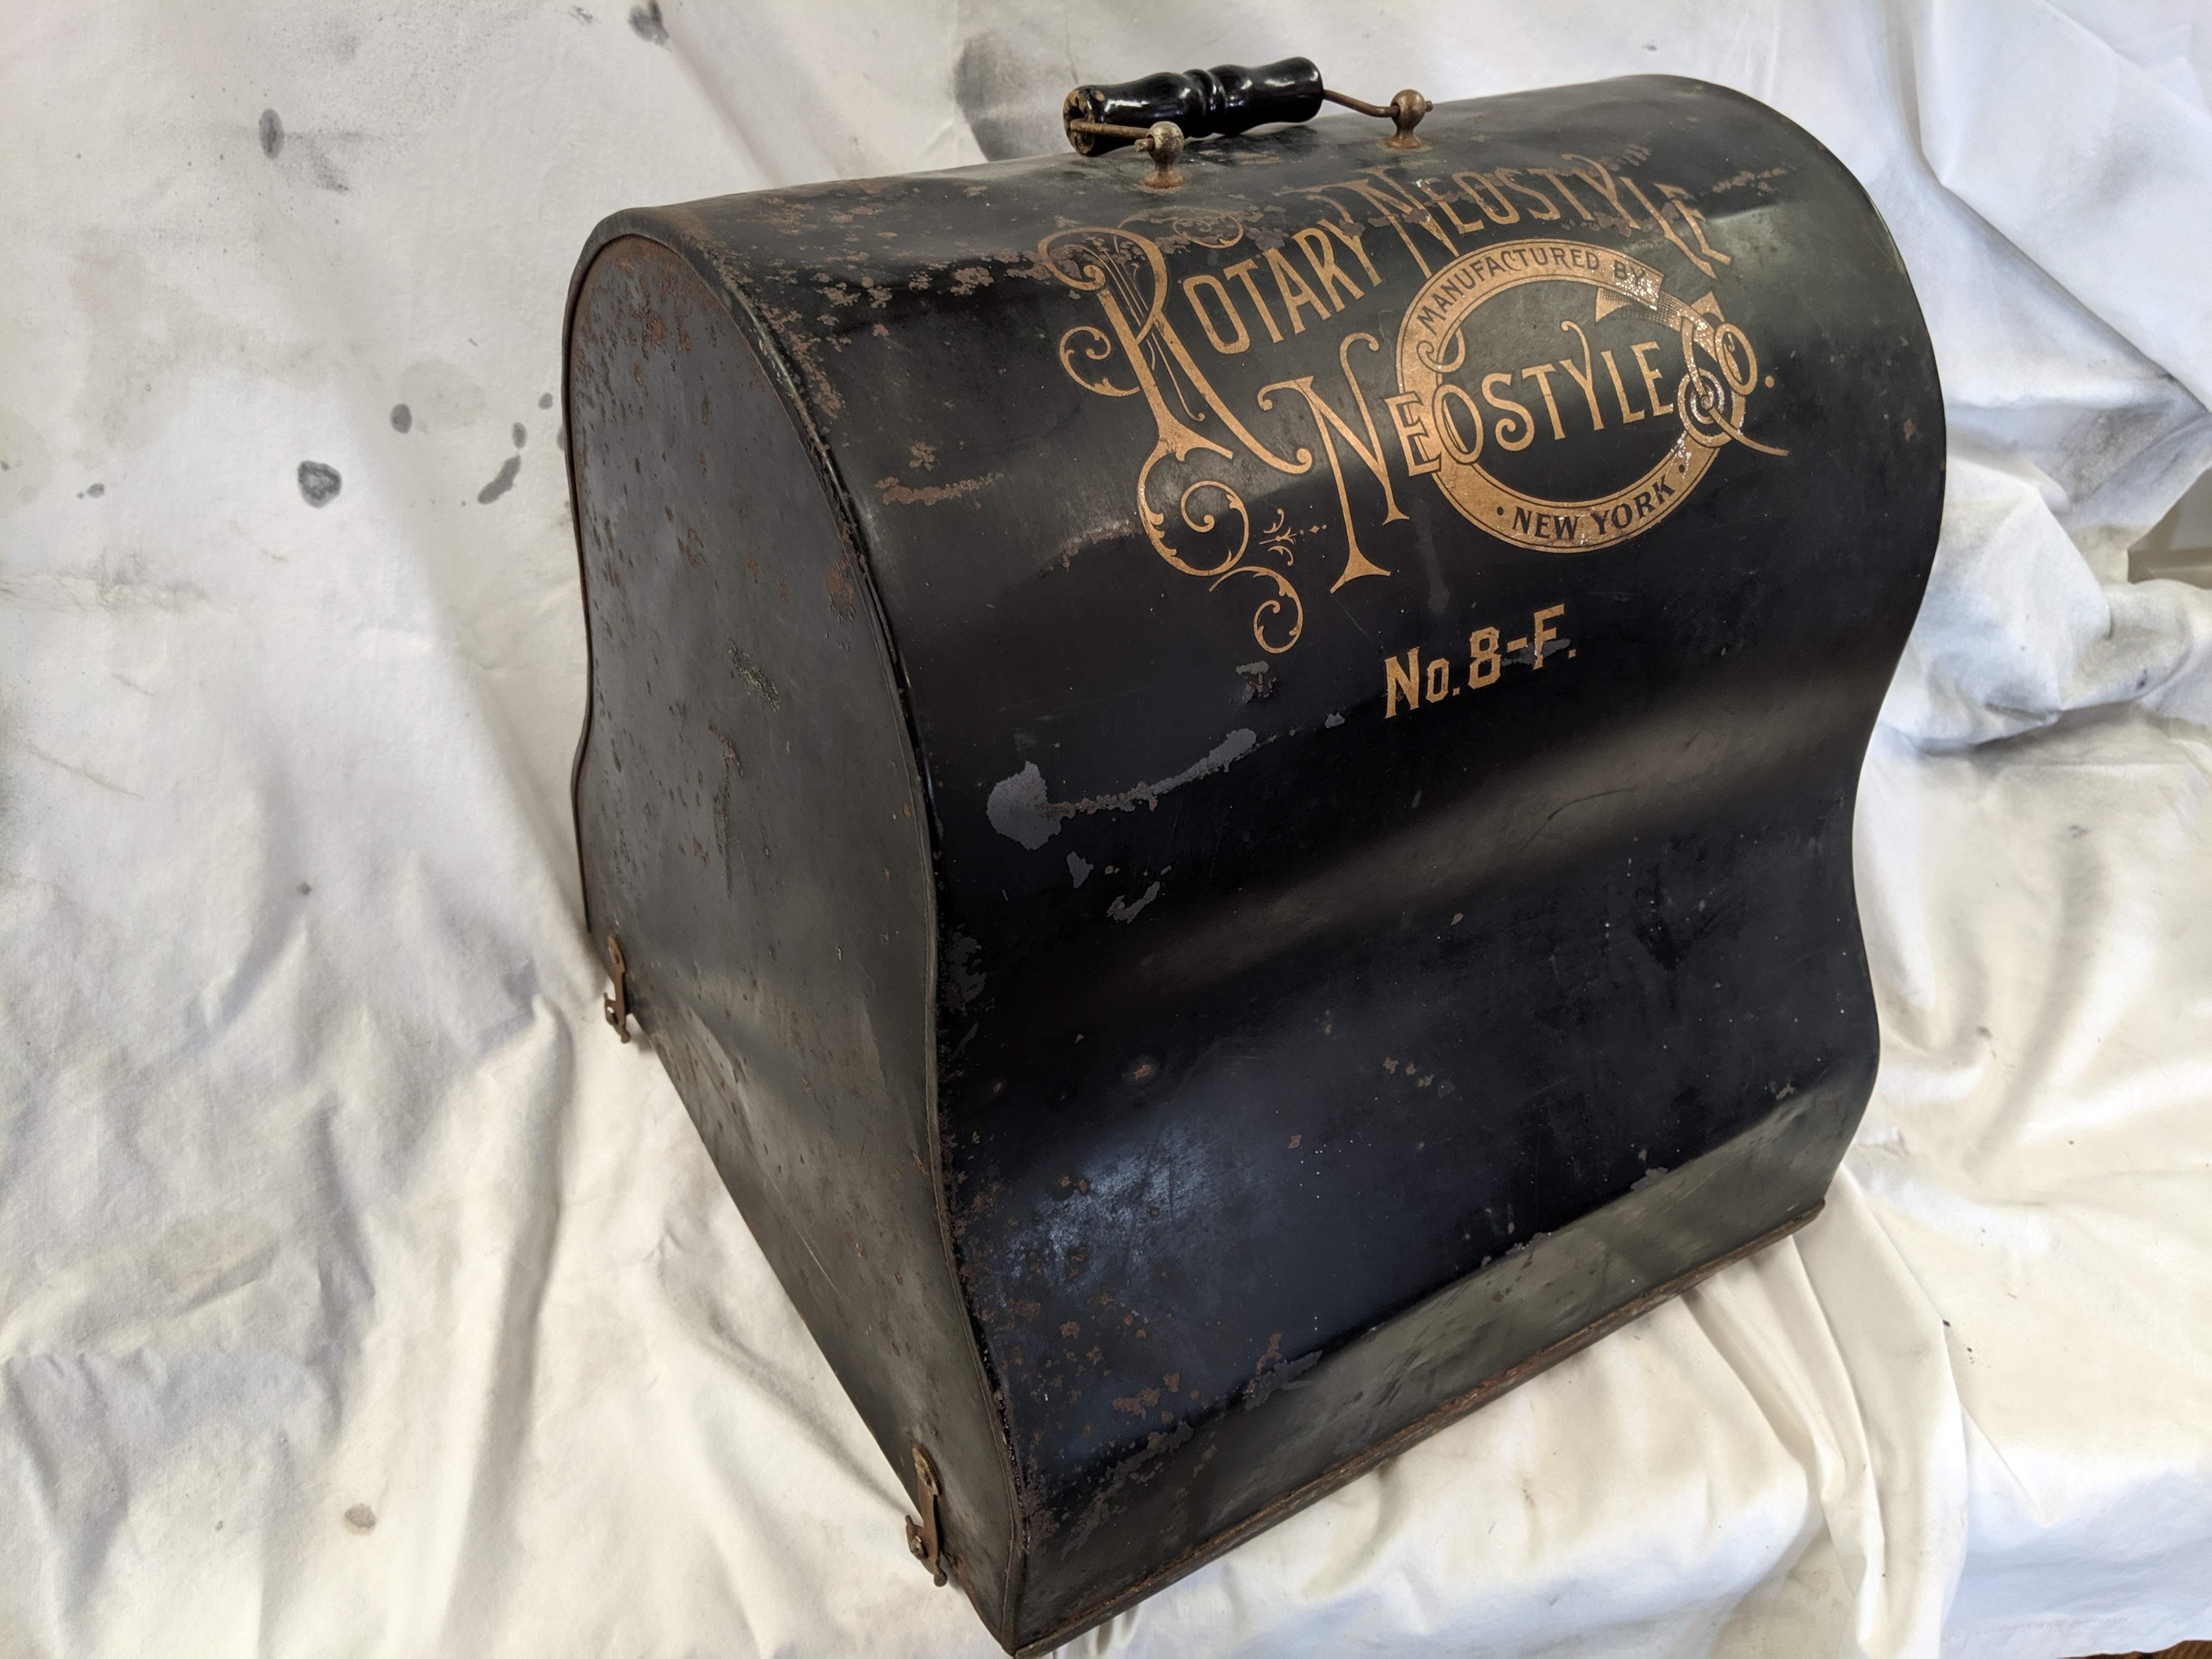
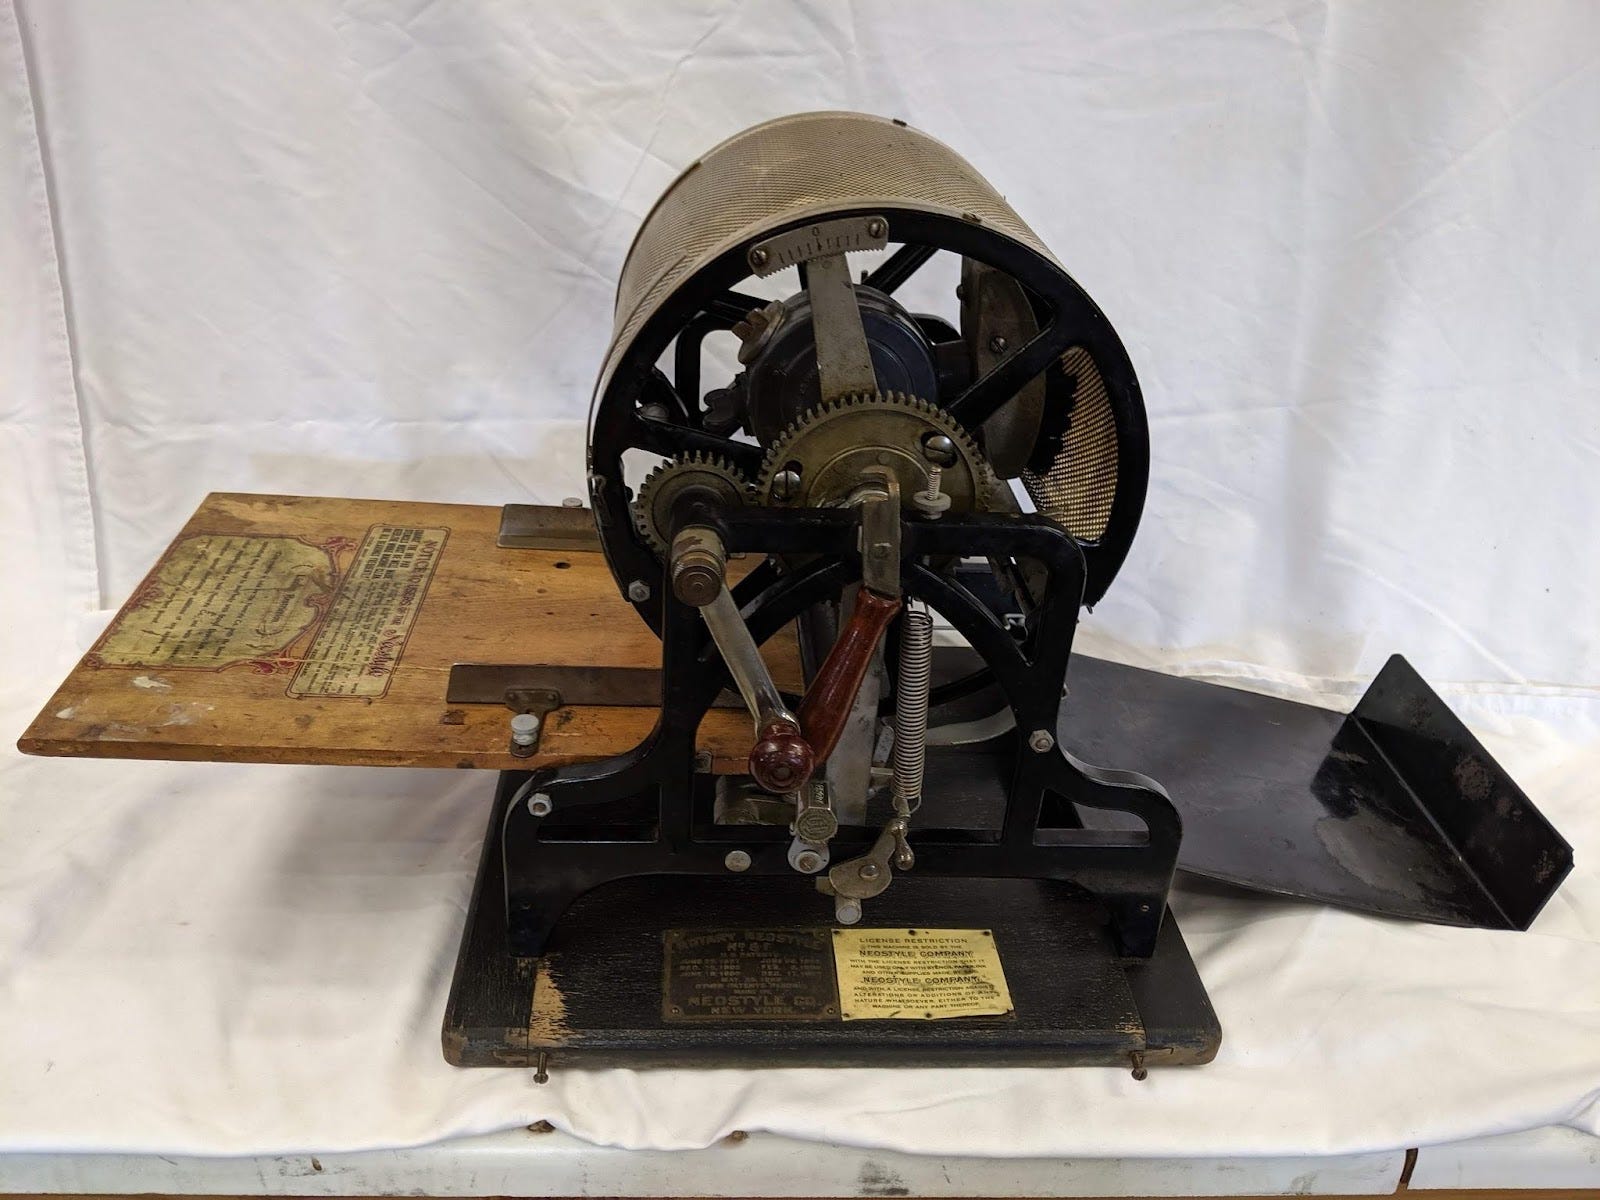
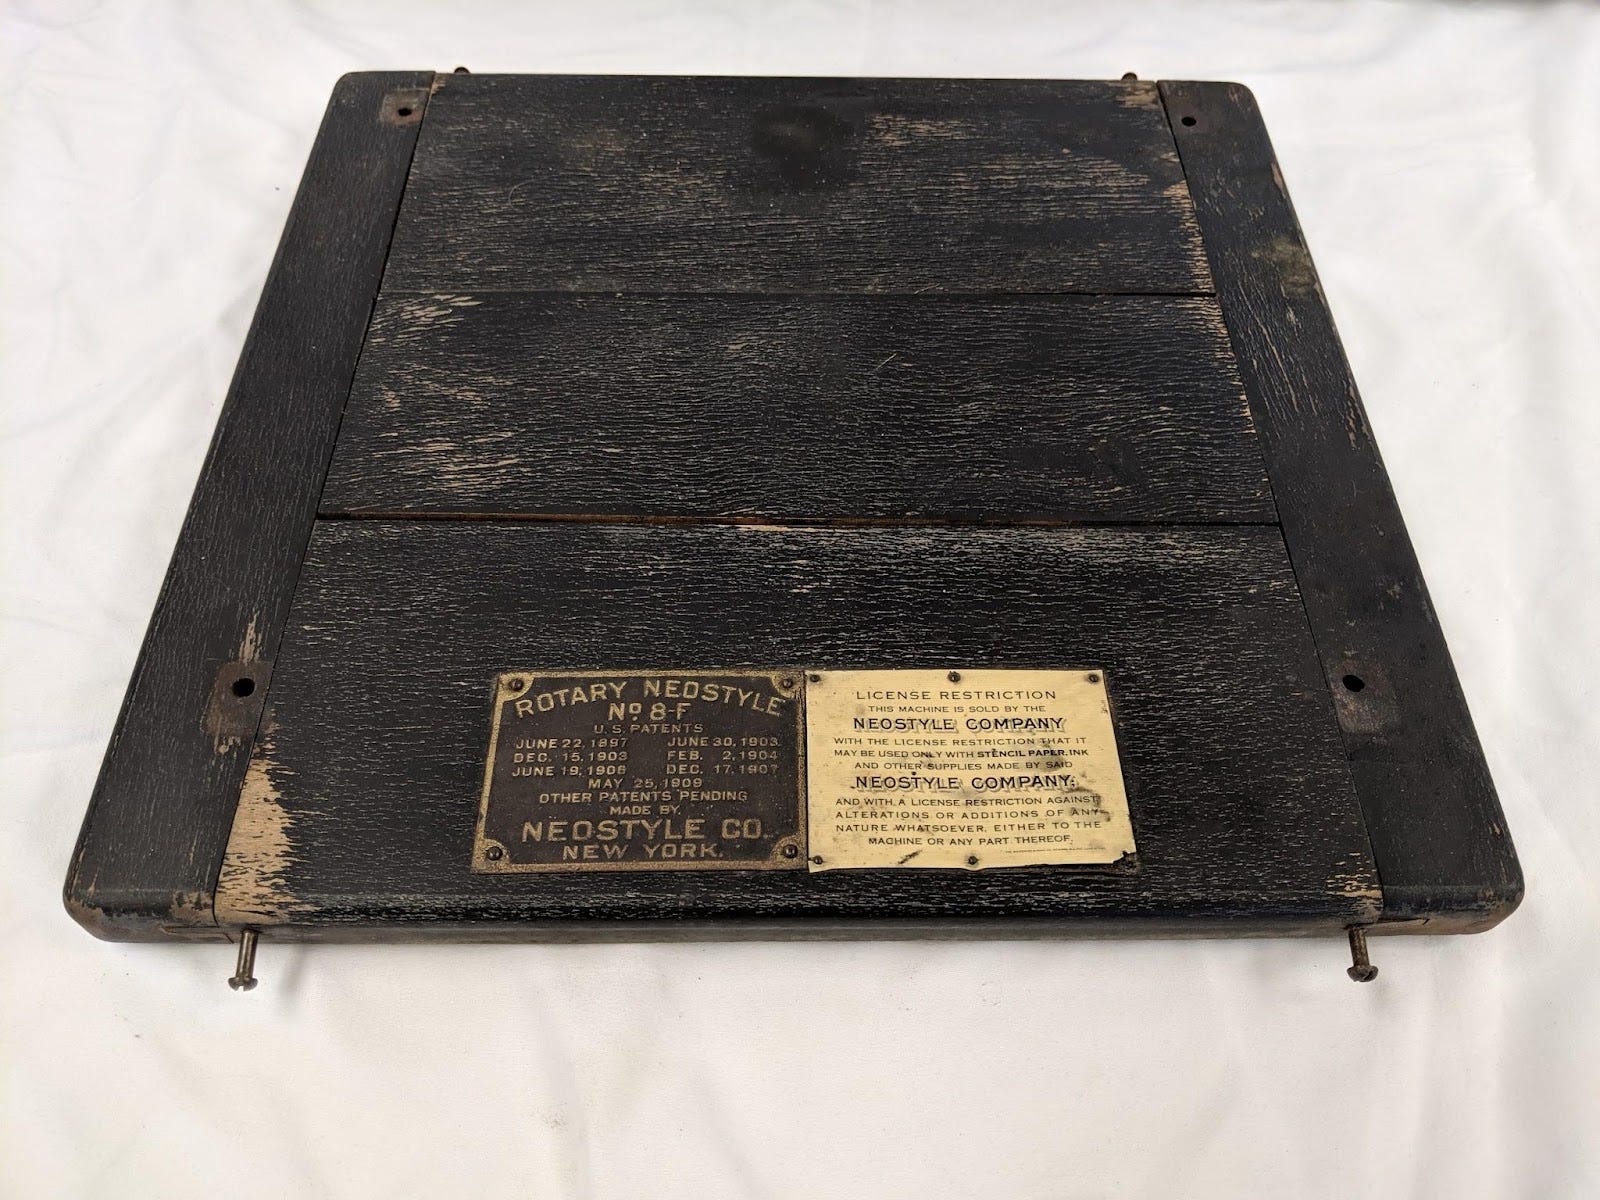
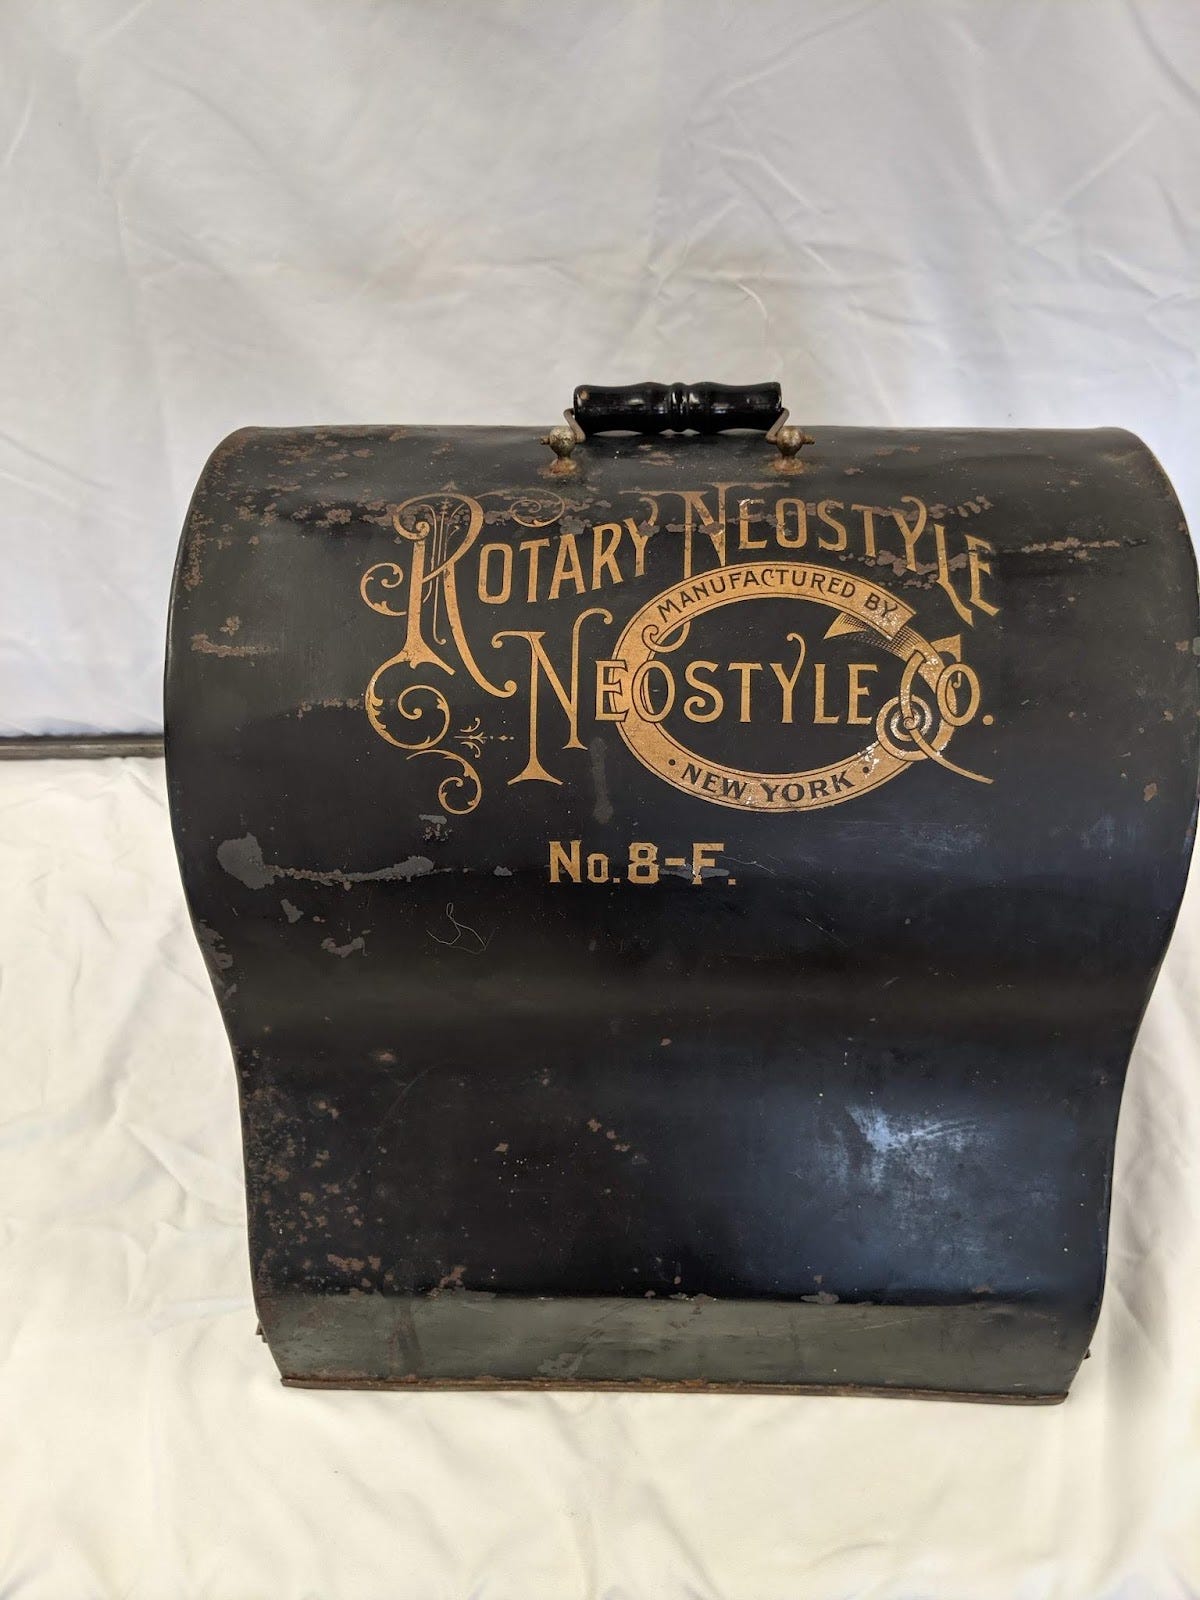
One or the other of them purchased a Rotary Neostyle No. 8-F mimeograph machine, produced by the Neostyle Company of New York, to print flyers for their store.
Mimeograph printing originally had the much less glorious name of stencil duplicating. Thomas Edison patented the idea in the late 1860’s and sold a license to the patent to the A.B.Dick Company. Sometime in the 1880s or 1890s, The Neostyle Company of New York started producing the Rotary Neostyle mimeograph machines. A few remnants of the Model 7 can be found. Most of those still around are Model 8 variants, including the Model 8-F I have. I have found references to Model 9s, as well.
In 1909, around the time of the sale of this machine, the company was advertising.
A mimeograph works by pressing ink through a stencil onto paper. The stencils are composed of a permeable paper/cloth backing with a waxy, soft plastic face which ink can’t pass through. The stencils can be cut with a stylus or more commonly a typewriter without the ribbon engaged. The stencils are cut as a positive of the page to be printed.
The cut stencil is mounted to the drum covered with an ink pad, face down. The ink pad is inked. Paper is then pressed between the drum and a pressure roller and drawn through. Ink that has gone through the stencil ends up on the paper. (Because the stencil was mounted face down, the paper ends up with the same image that was cut into the stencil.)
The stencils can be used until they tear or are damaged in some other way. They can also be removed and stored for reuse at a later time. This differs greatly from the spirit duplicators used in the 60s and 70s that had a limited life for the stencil and no reuse possibility. The spirit-duplicated copies had purplish print and a strong solvent smell when new.
By contrast, mimeograph machines could print in any color you wanted and, if any smell, had the kind of greasy smell of ink and machinery. If you could get accurate enough alignment, you could even print in multiple colors by printing the same side of the paper multiple times with different colors.
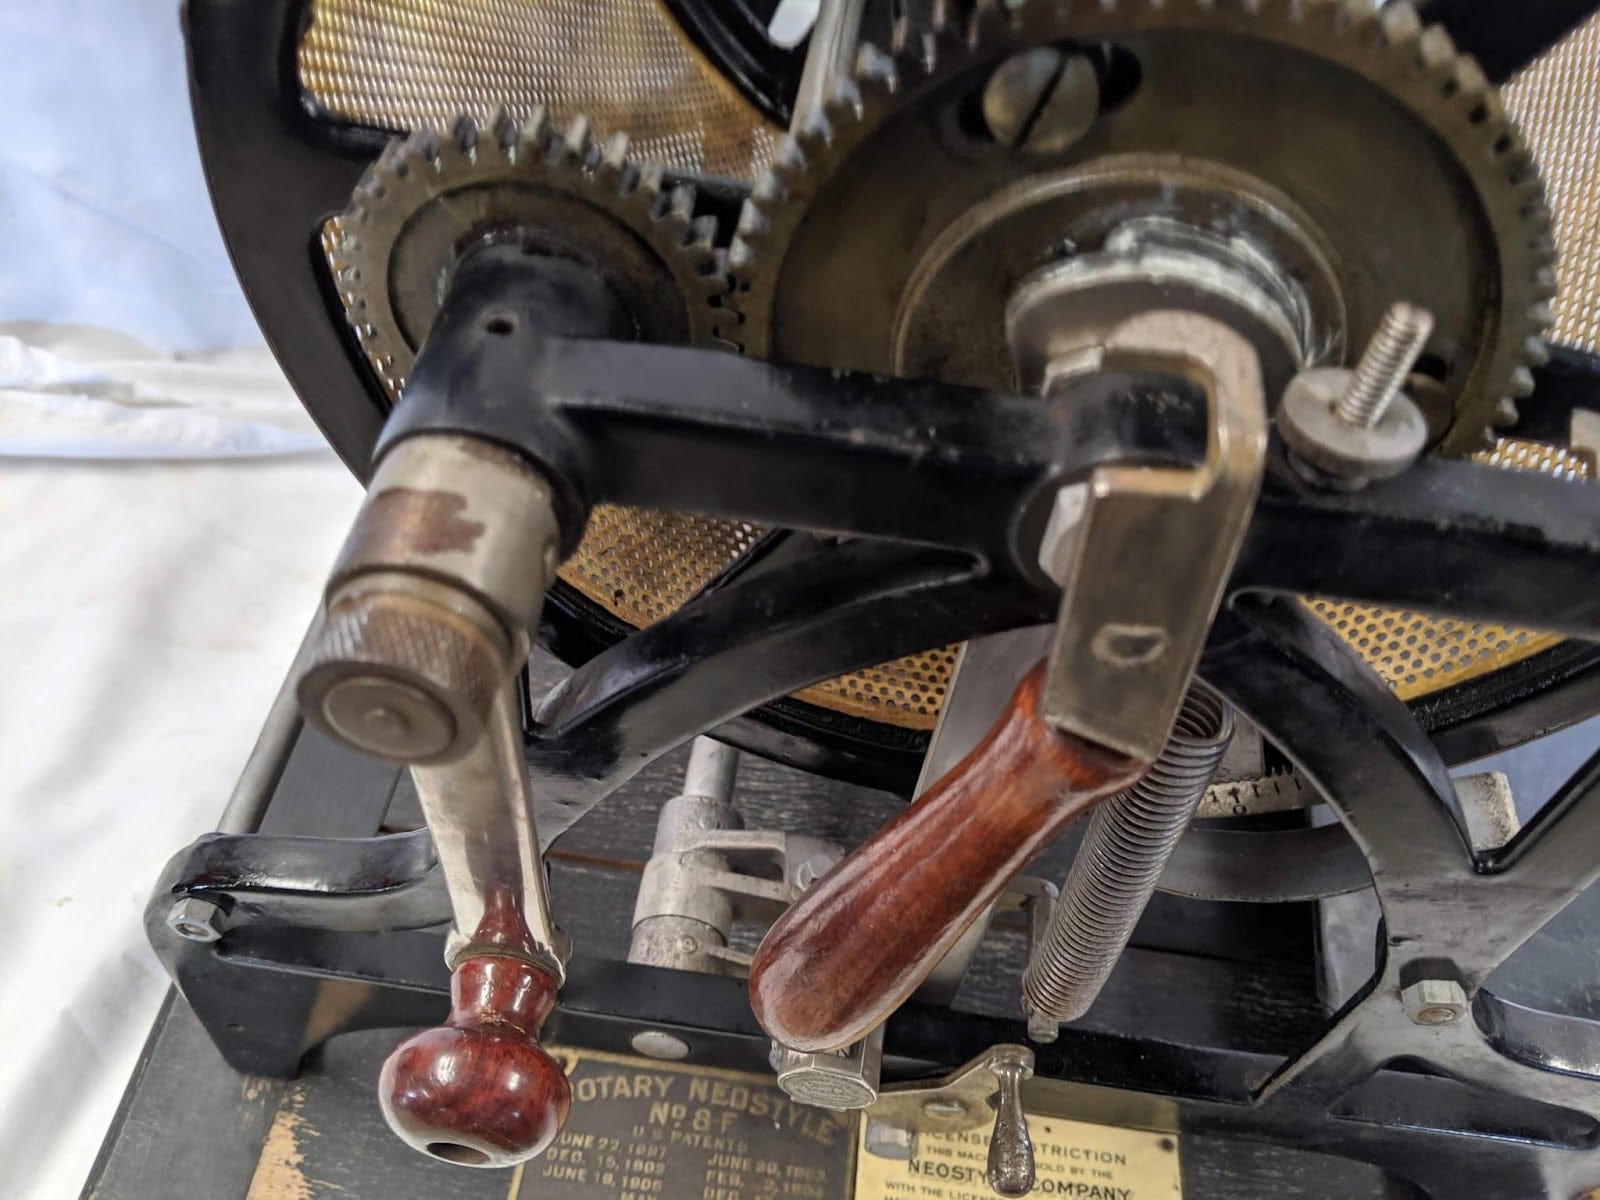
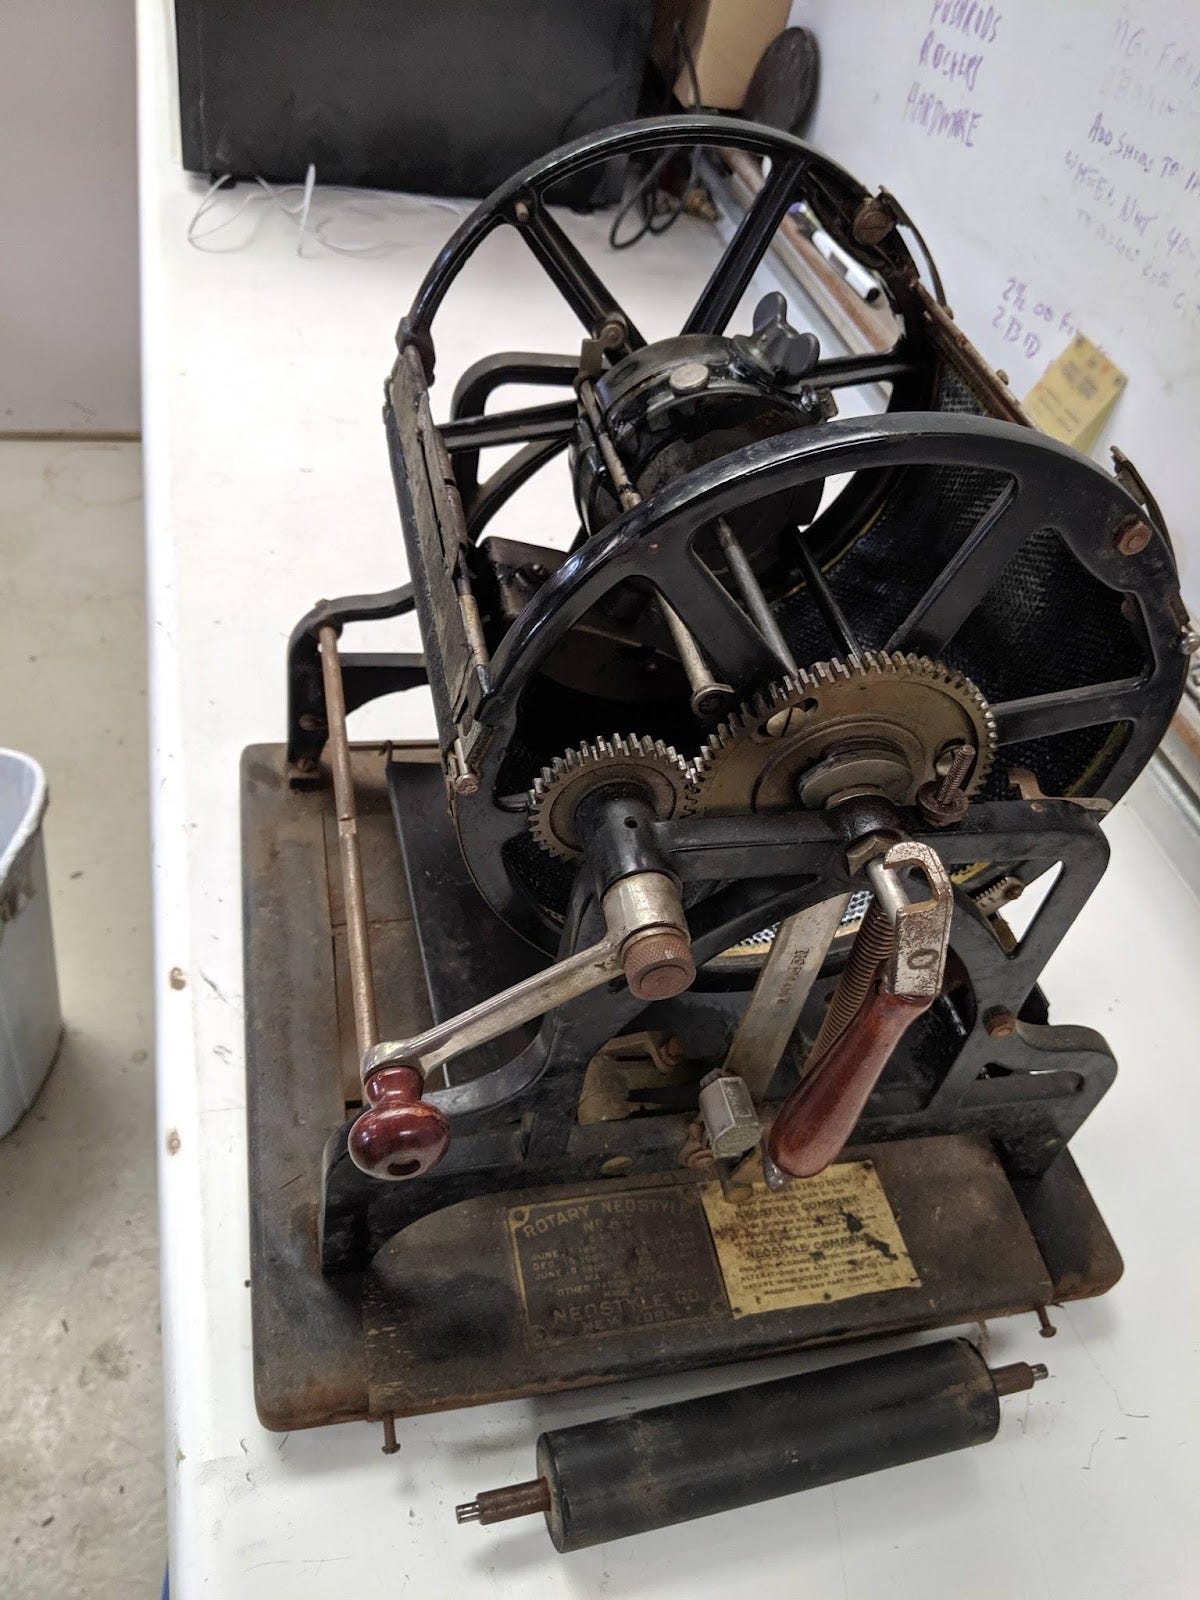
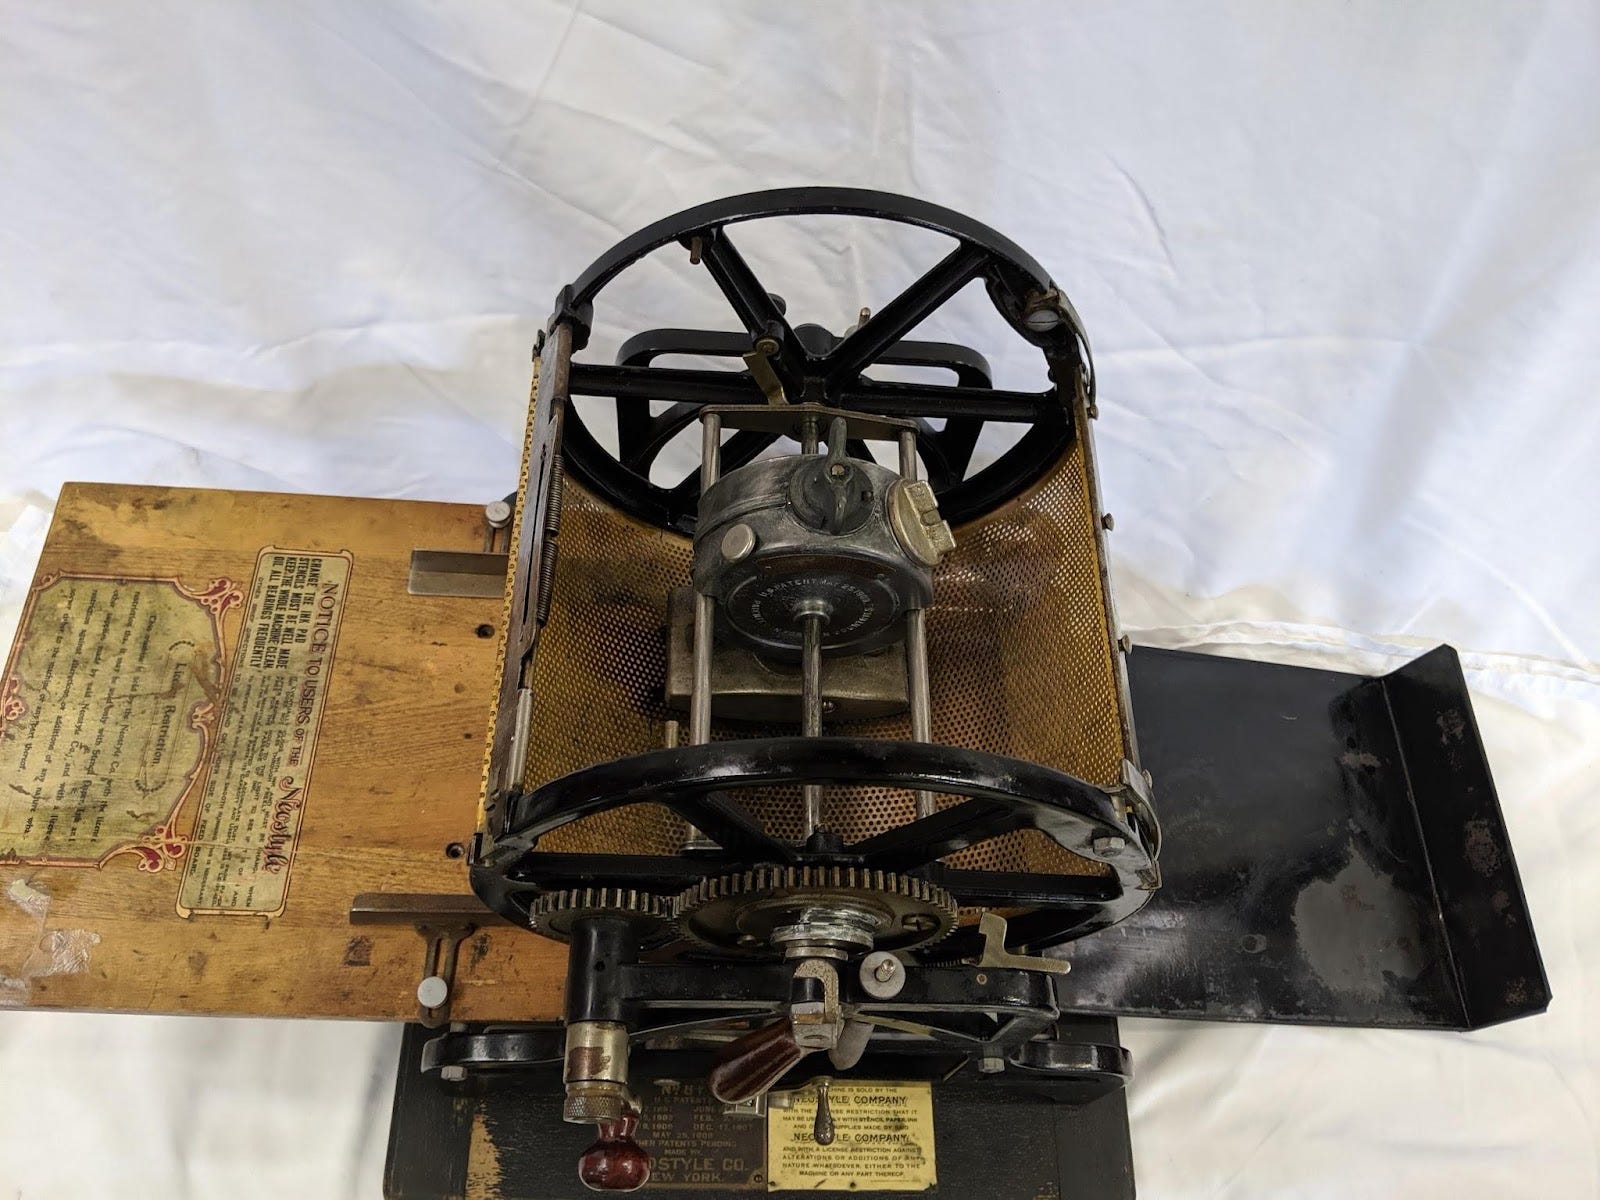
The Neostyle Company had some interesting licensing requirements, very reminiscent of some of today’s licensing agreements. Supposedly, purchase of a Rotary Neostyle mimeograph locked you into buying Neostyle Company products to use with it. To the right of the patent plaque, you can see the licensing on this 8-F.
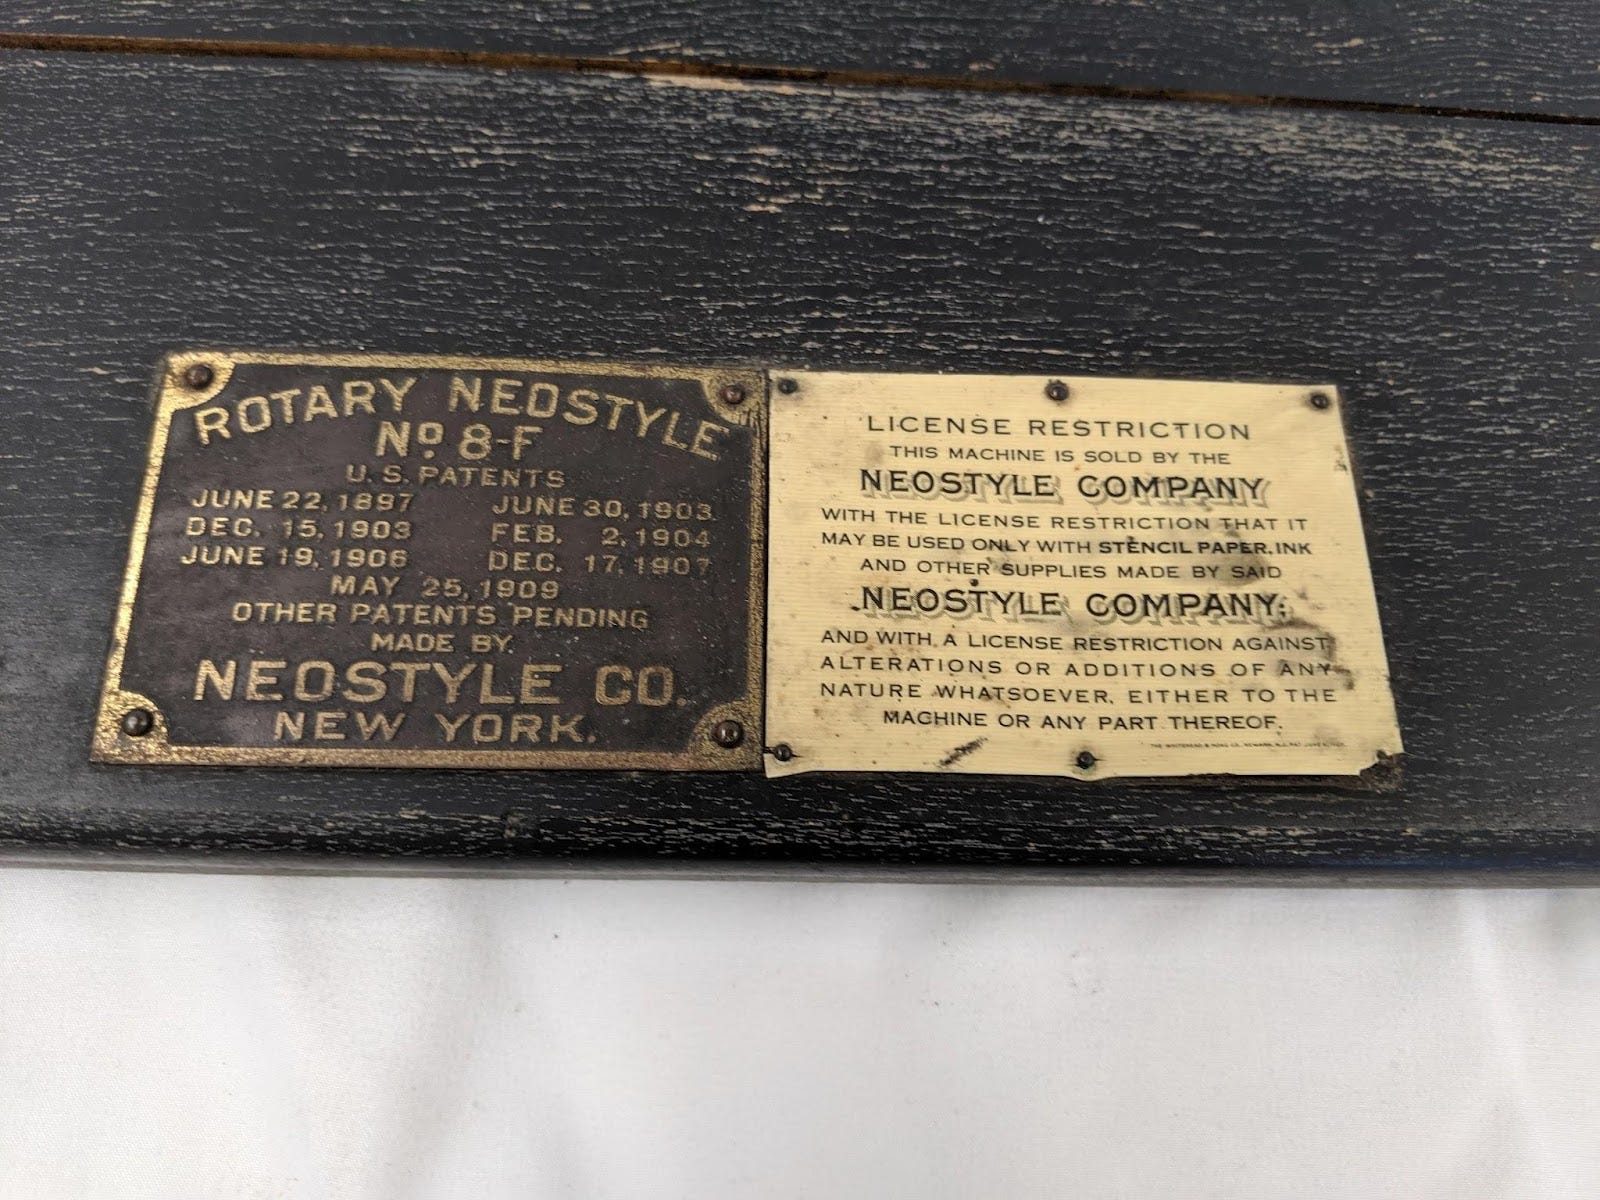
(I participated in an On-Premise podcast about subscription services several months ago.) Interestingly, there was a ruling against this licensing in 1907, well before the May 1909 patent date listed to the left. This was a demonstrative example of restrictive rope-in well before many of the license requirements we’re aware of existed. There were other cases where this license was found invalid. It was a precedent-setting case that reflects many similar requirements a century-plus later.
At some point, the license furor cooled down and the A.B.Dick Company became the primary seller of stencils, paper and ink.
As schools became larger, mimeographs became a standard classroom prep tool. In the middle of the 1900’s “Roneo rooms” became fixtures in schools, a cite to the ubiquity of Rotary Neostyle machines.
My parents ended up with this heirloom “Roneo” when I was a kid. In the summer of 1977, my siblings and I put together a short-lived “newspaper,” more as an excuse to use the mimeograph than any true effort at journalism. I think all told, we put together 4 or so issues, mostly culling news from friends or from other local news sources. We managed to sell a few to sympathetic neighbors.

We generated these newspapers by stenciling and typing on an A.B.Dick stencil.
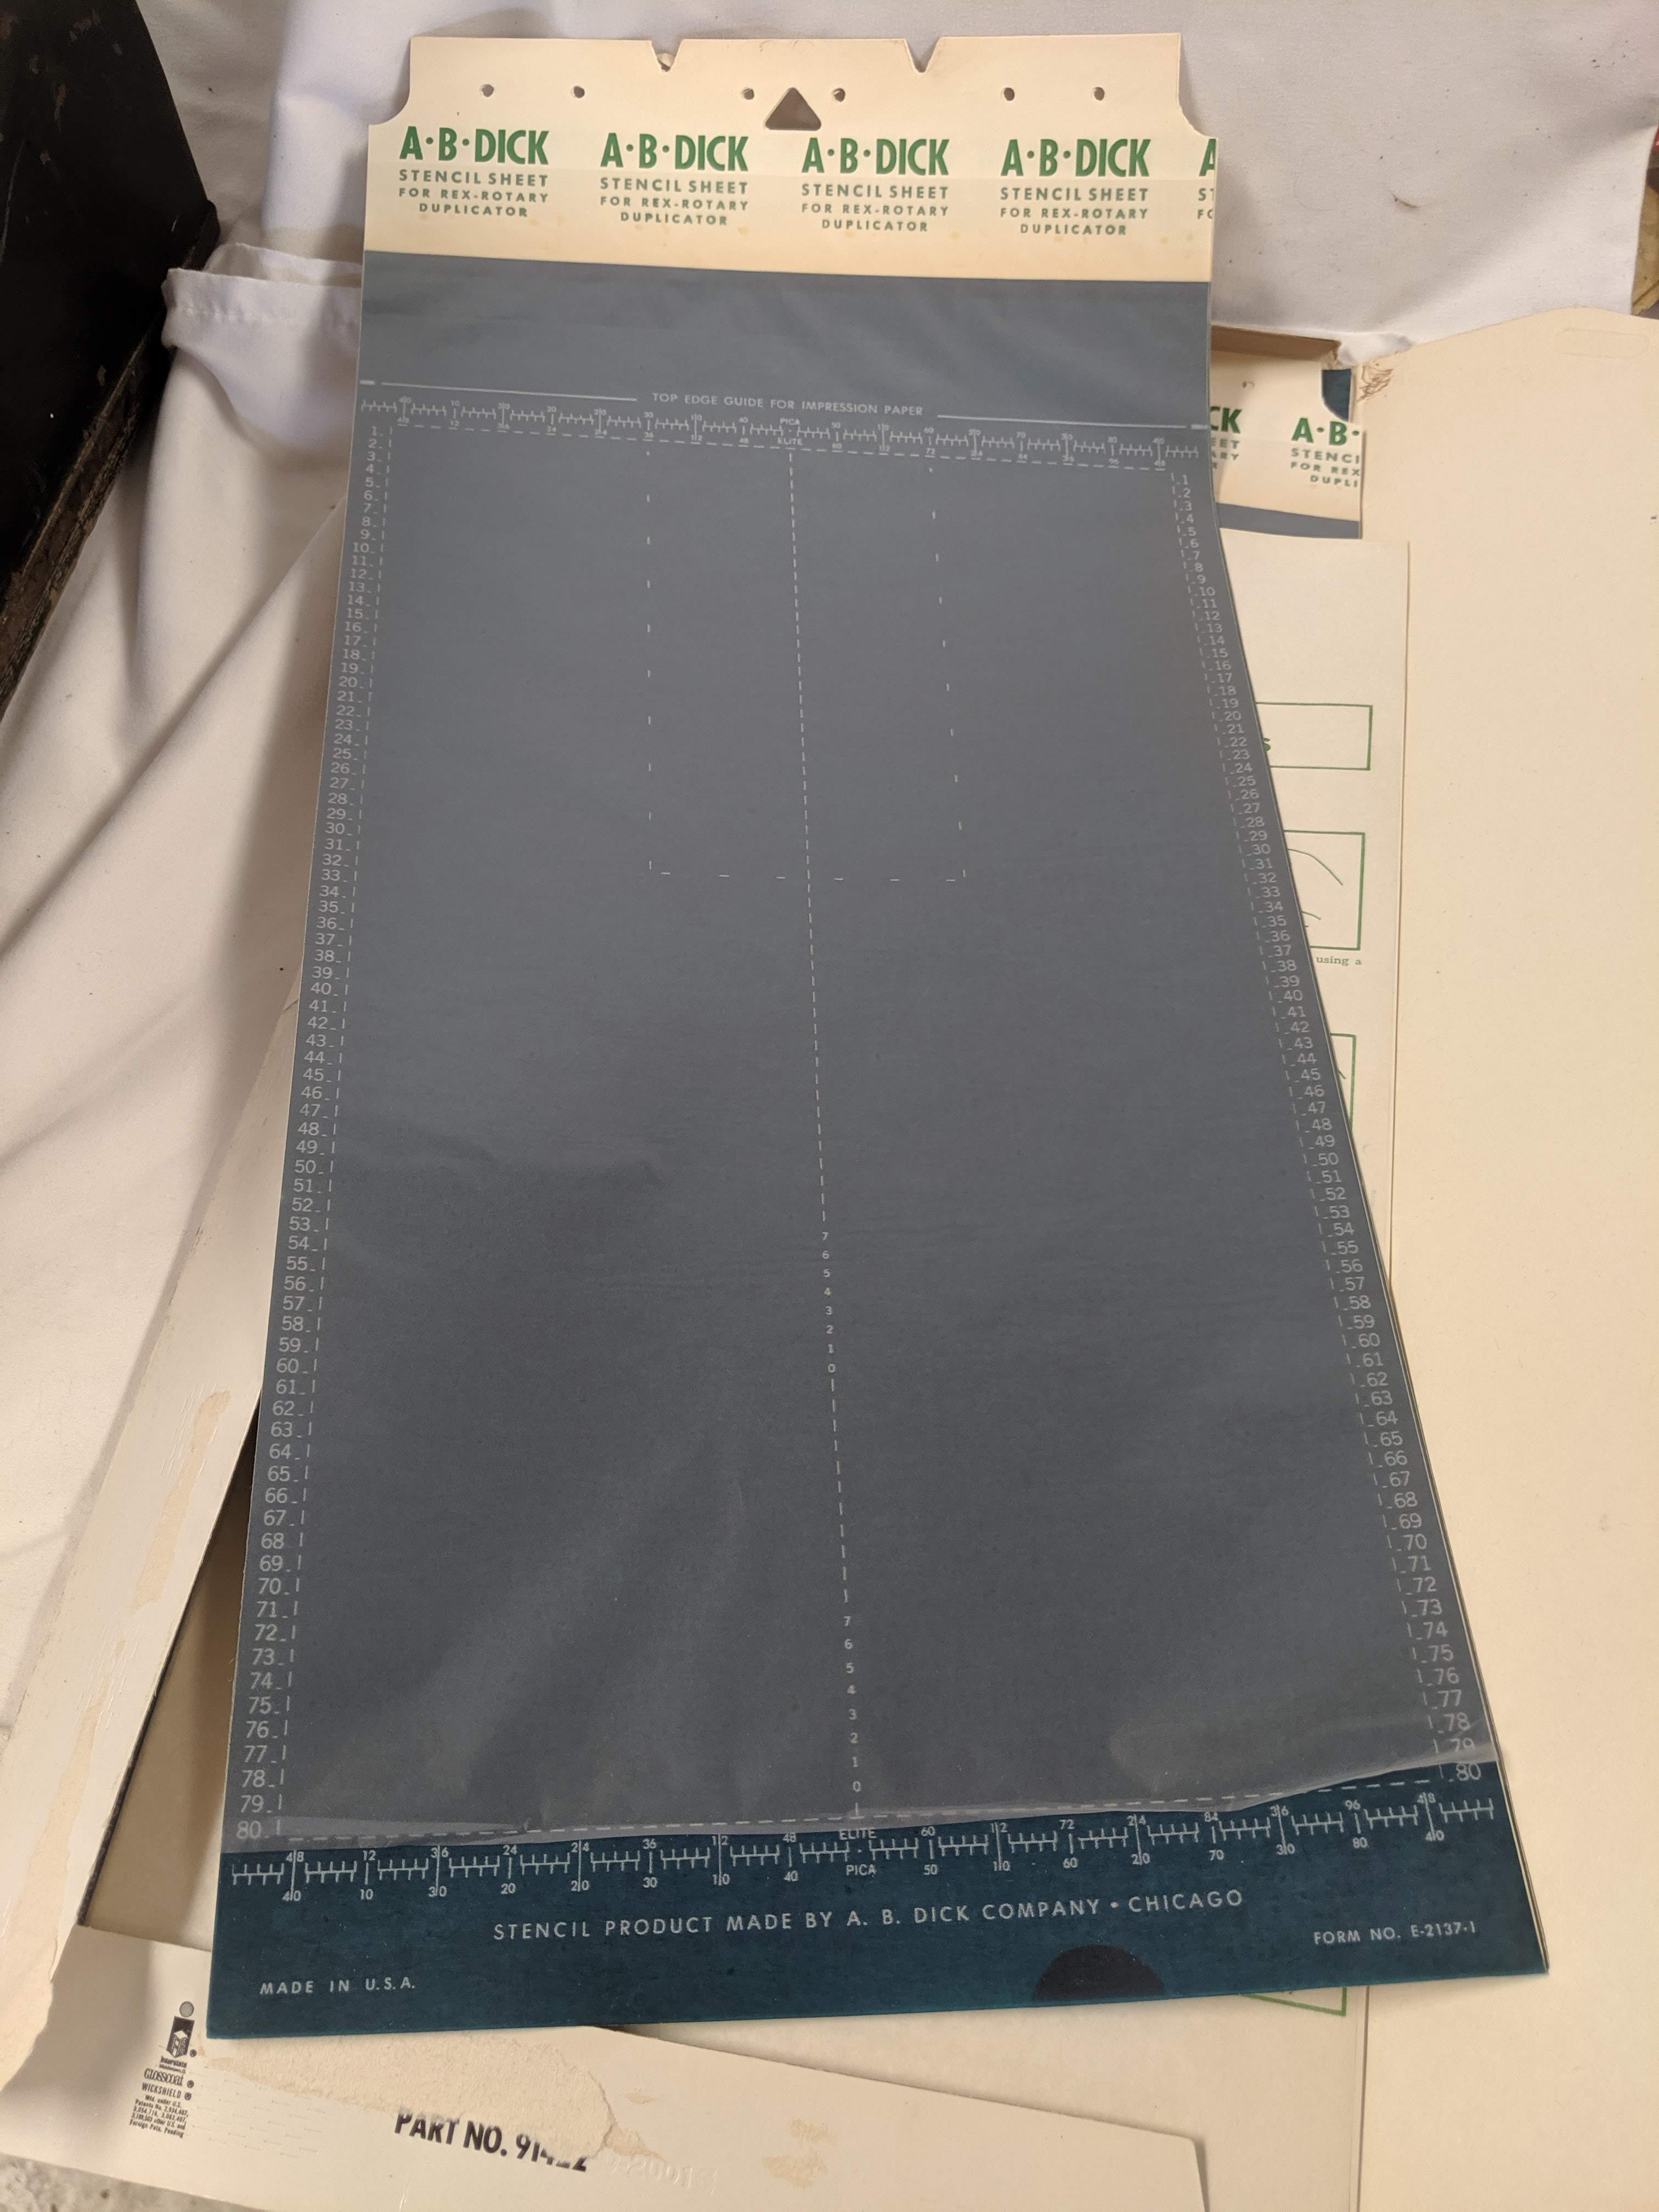
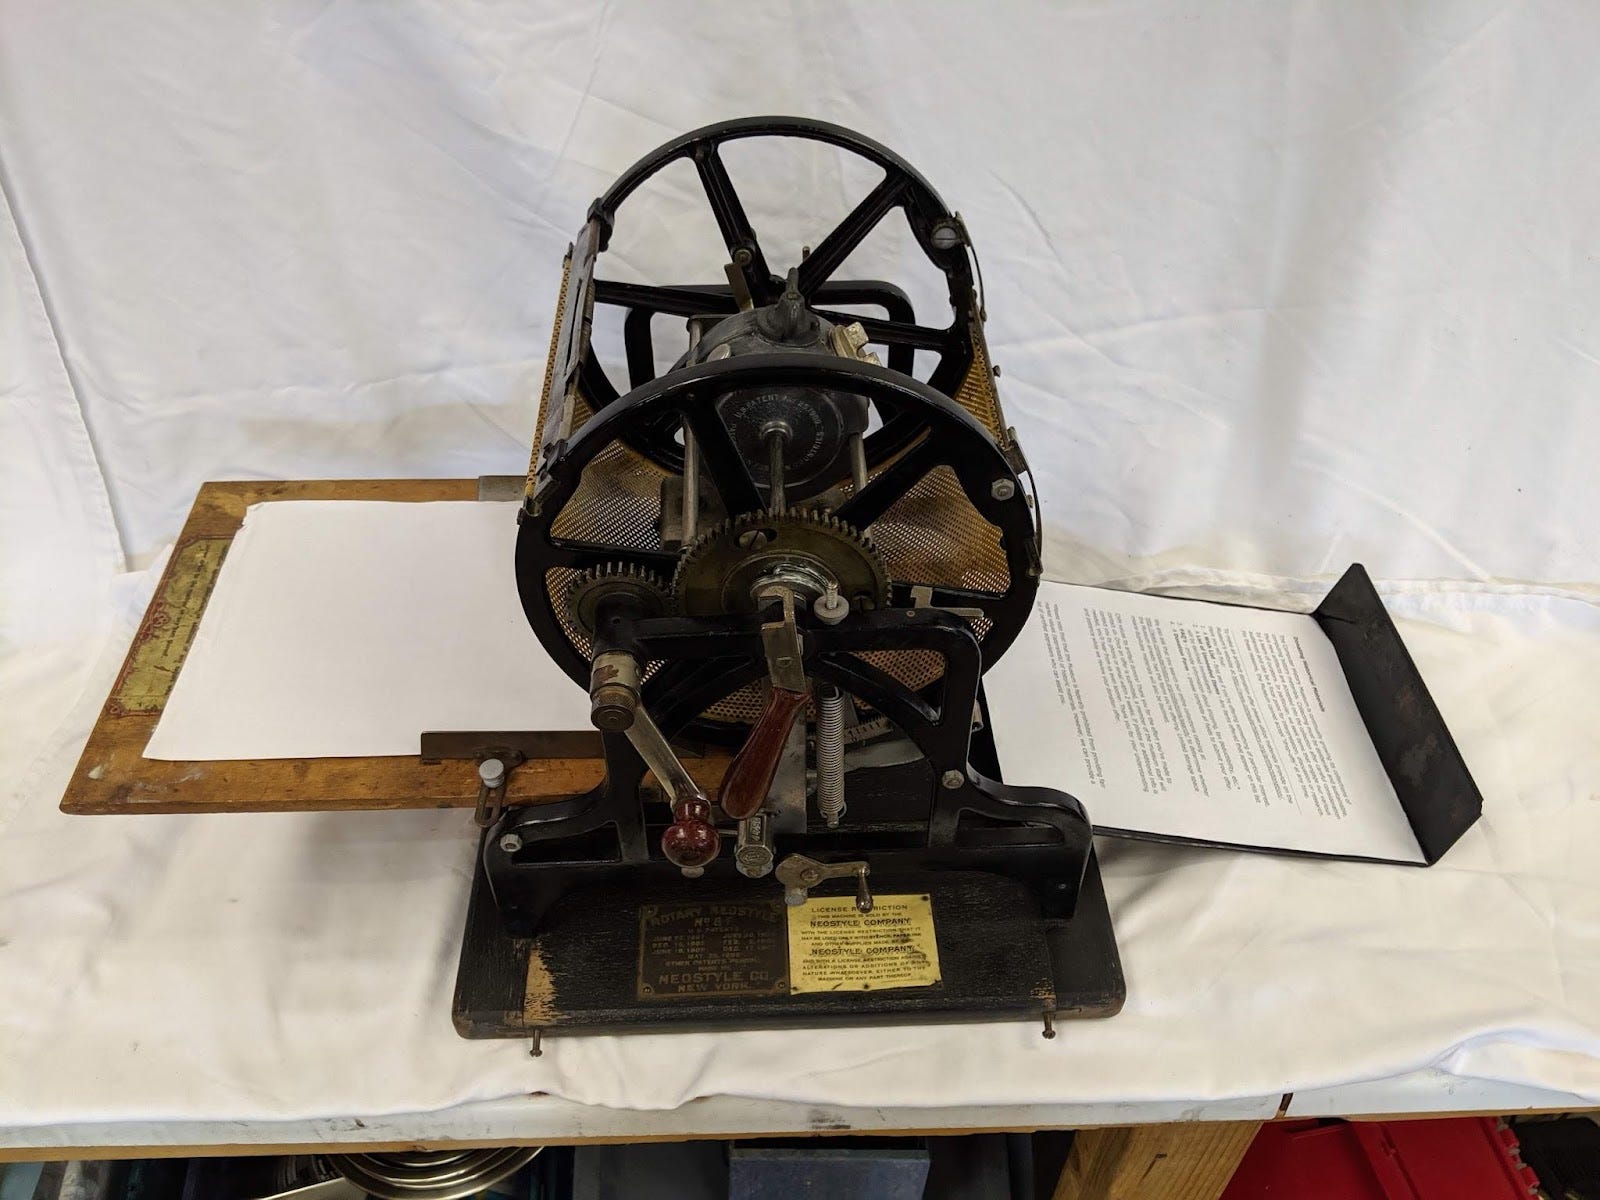
This one has the cover sheet laying over it, protecting the soft stencil material. The nameplate, or “the flag,” at the top of the newspaper was created by using a thin stylus in some sort of old-style font template. You can see the individual strokes. The text looks like it was created on a IBM Selectric or similar electric typewriter, probably found in one of my parents’ workplaces. At home, we just had manual typewriters that didn’t create as consistent strikes or sans serif fonts.
I’m certain some of our earlier issues used such typewriters, with less satisfactory results.
The mimeograph machine was prepared by cleaning or installing the inkpad on the cylinder. The inkpads are heavy but soft cotton weave. These have been around for a while.
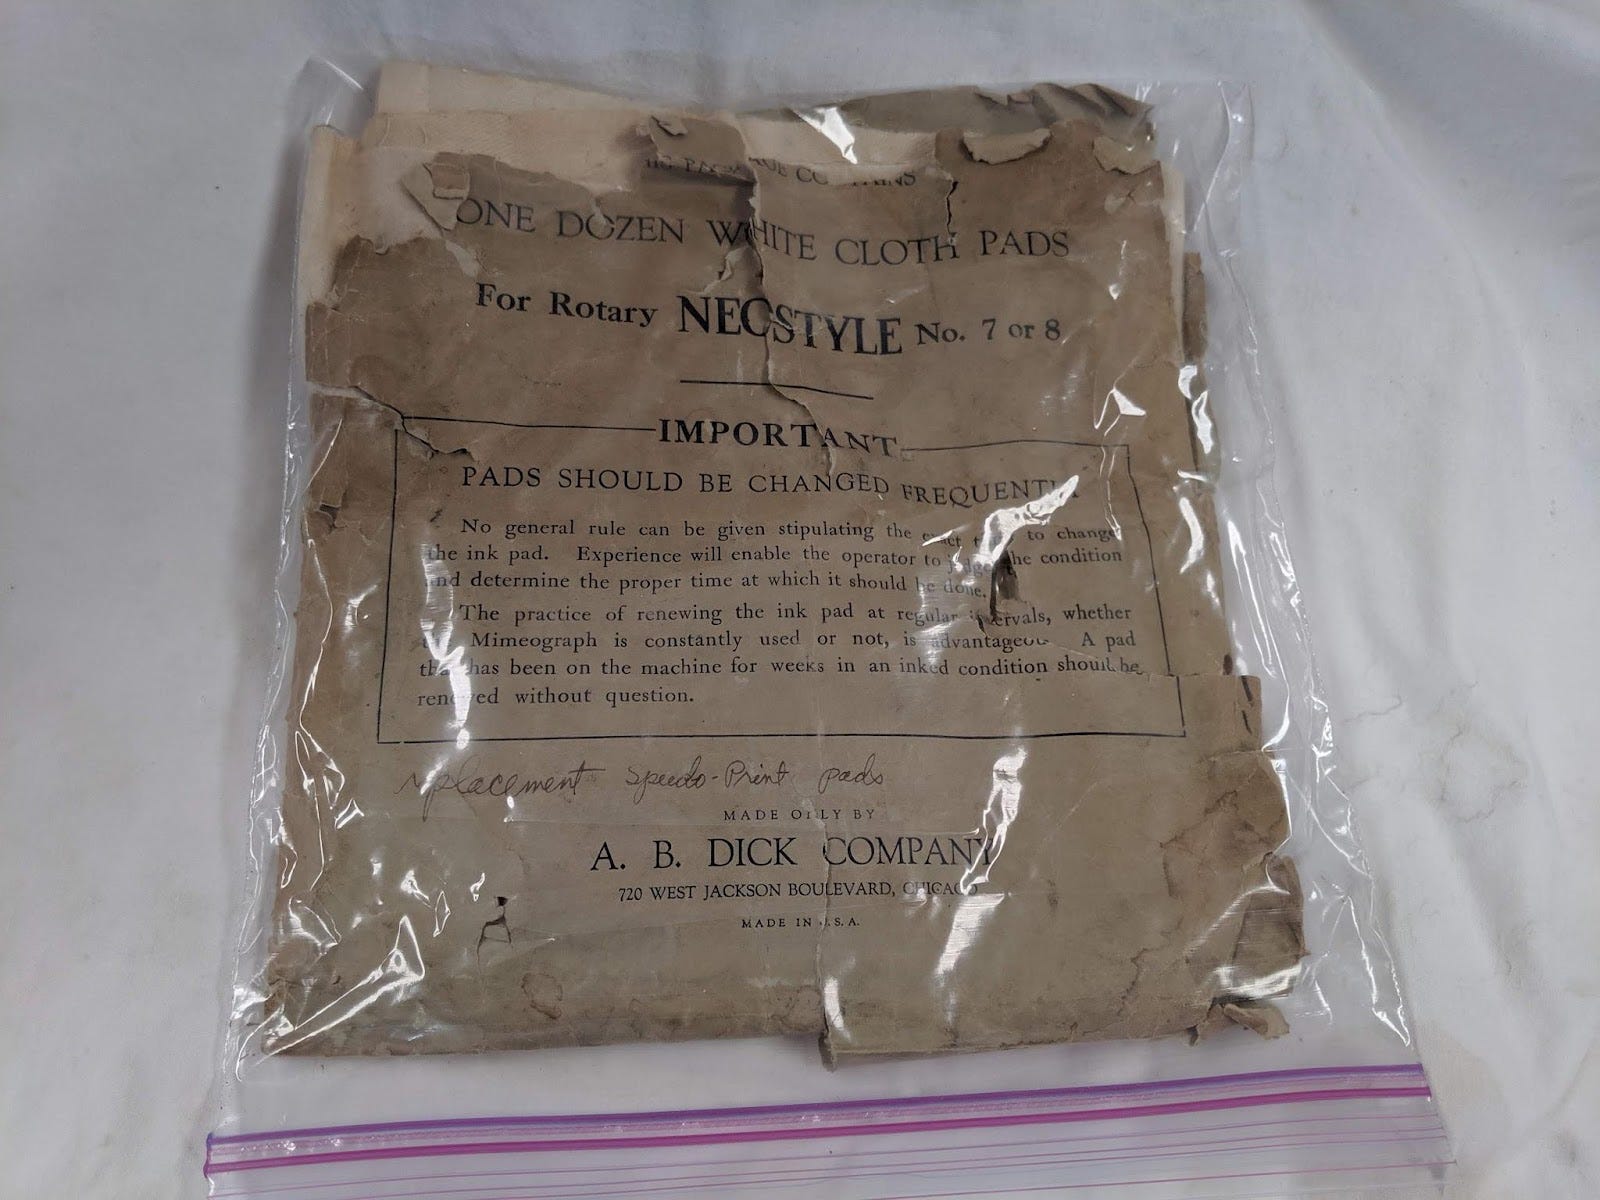
They are stretched over the main cylinder held by rods on each end. You can see the rod holding one on here.
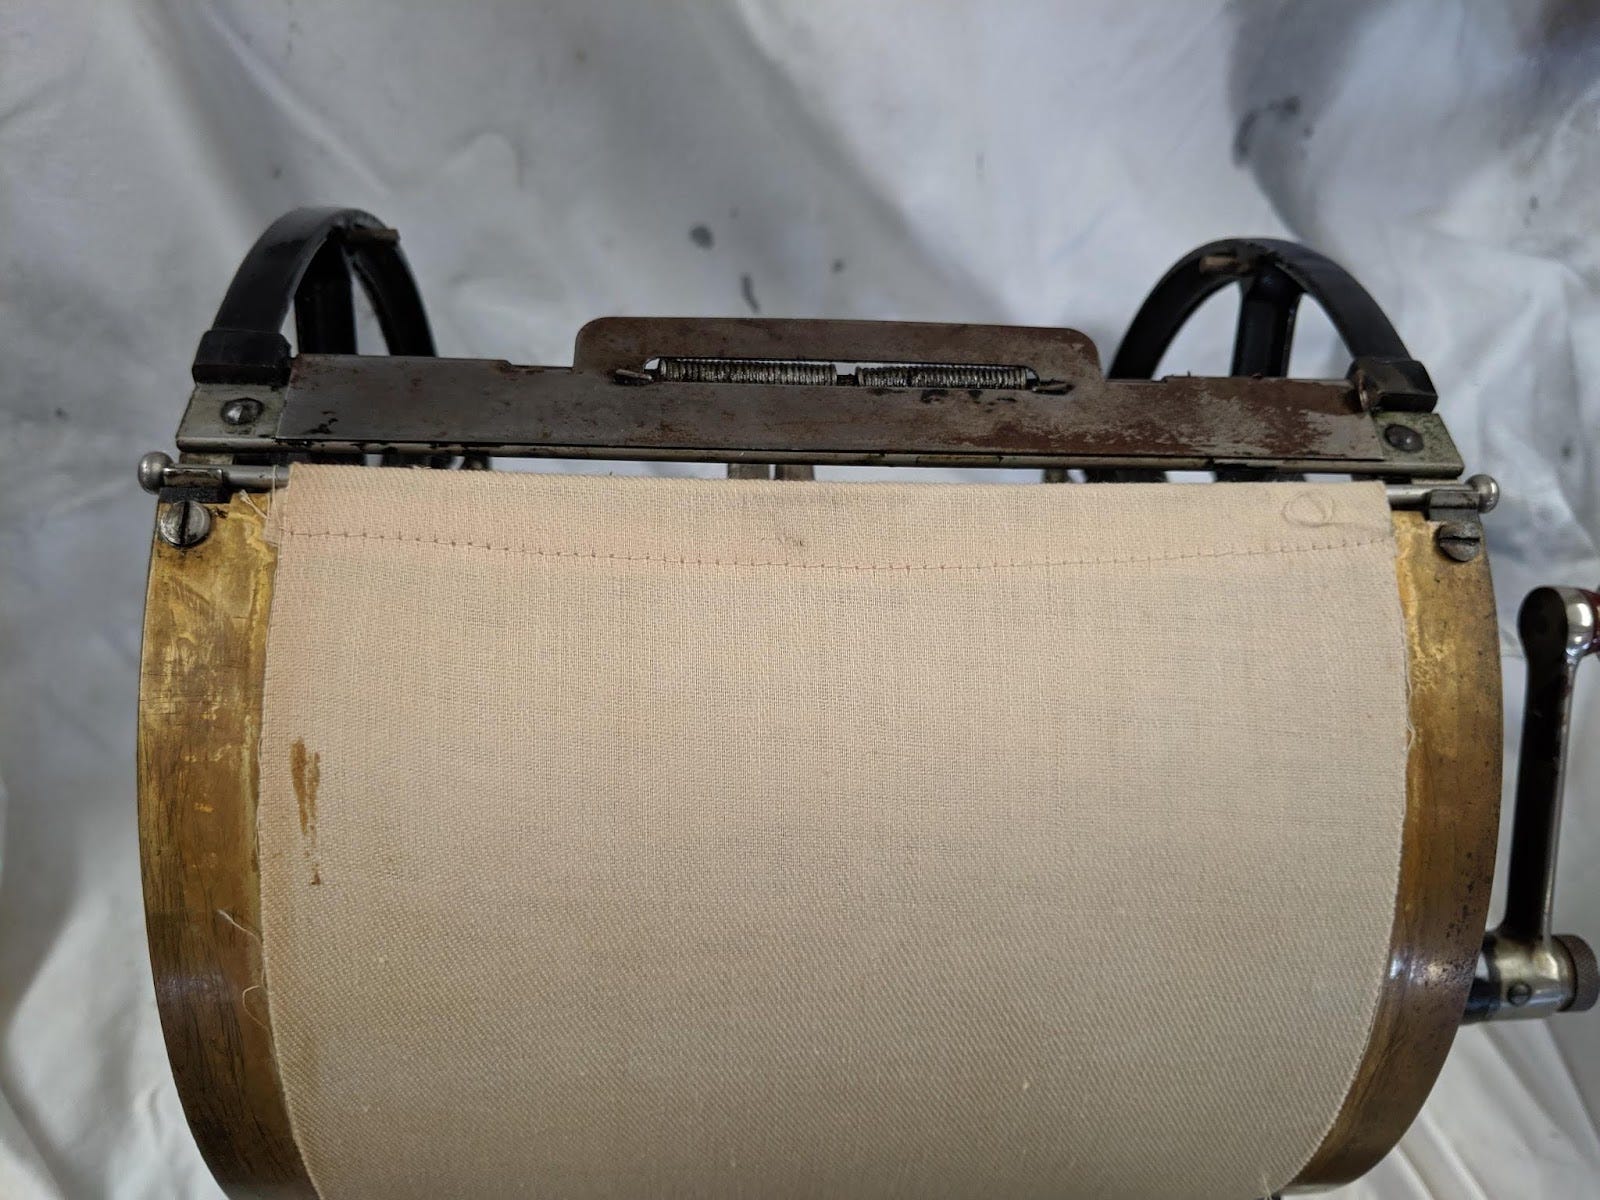
You can see the rods laying on the sheet in the background in the next picture.
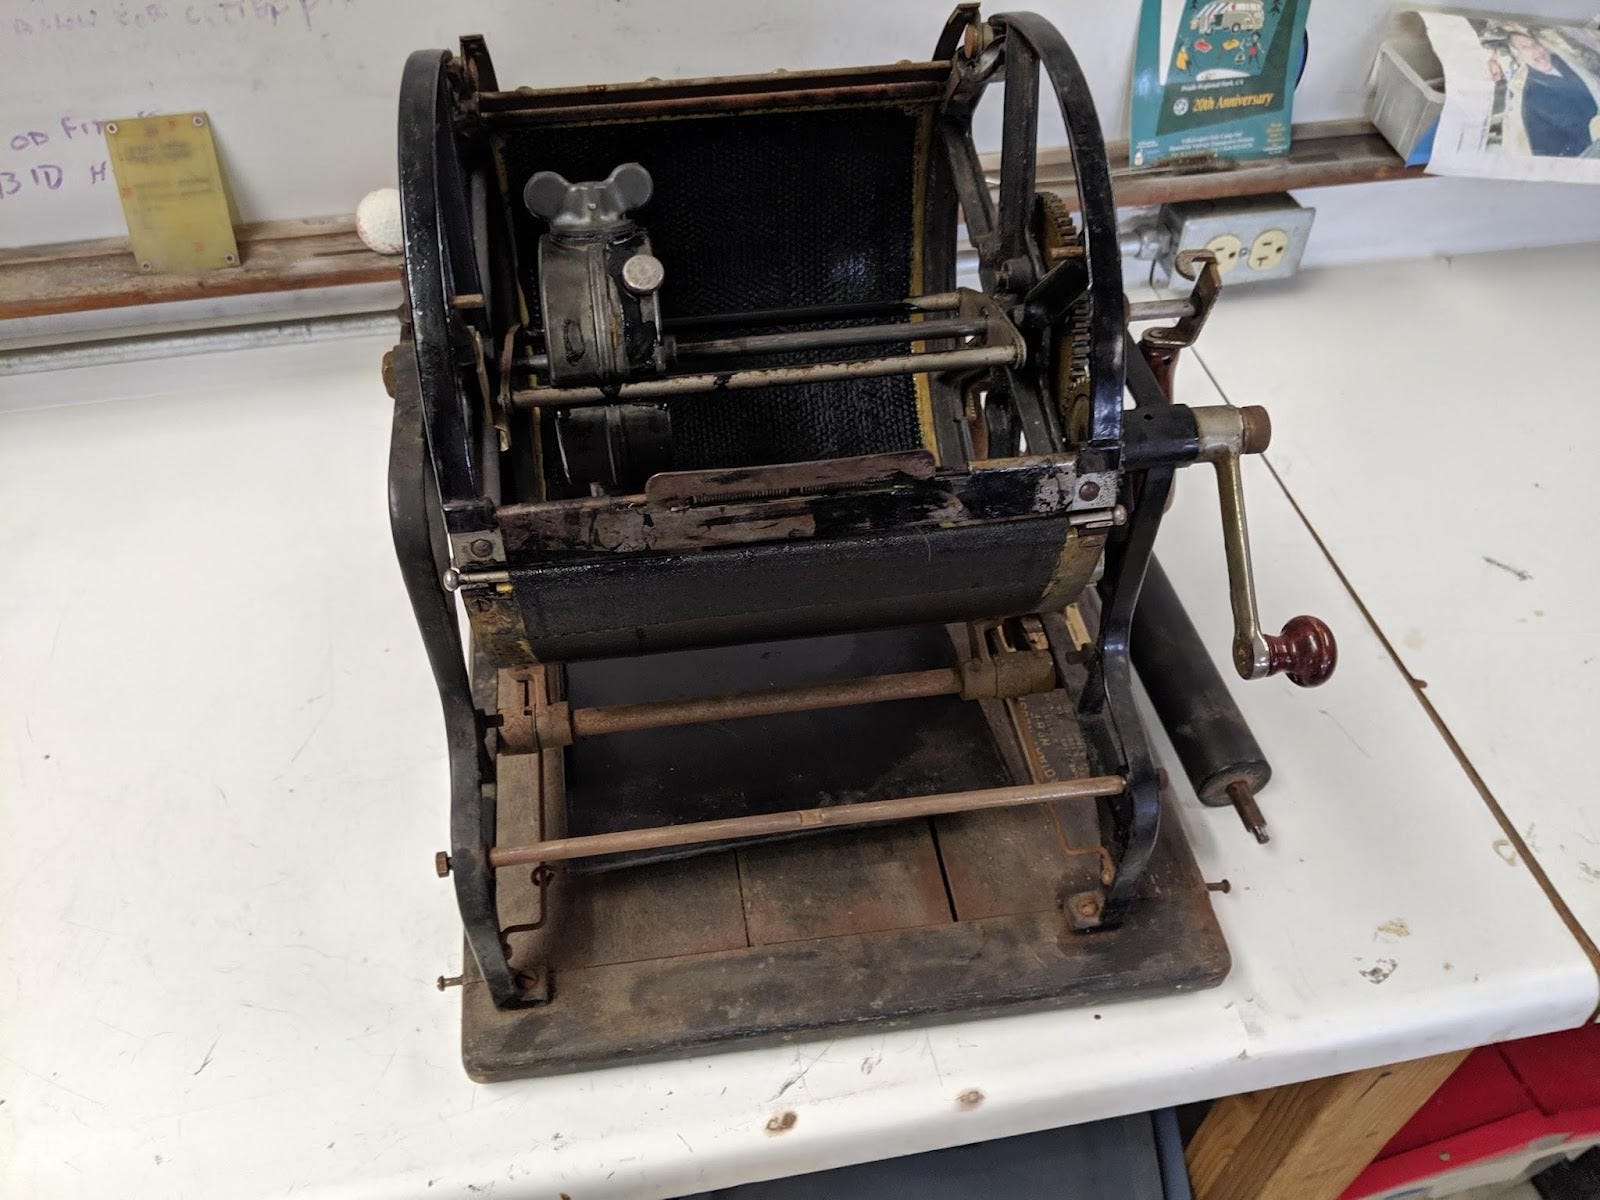
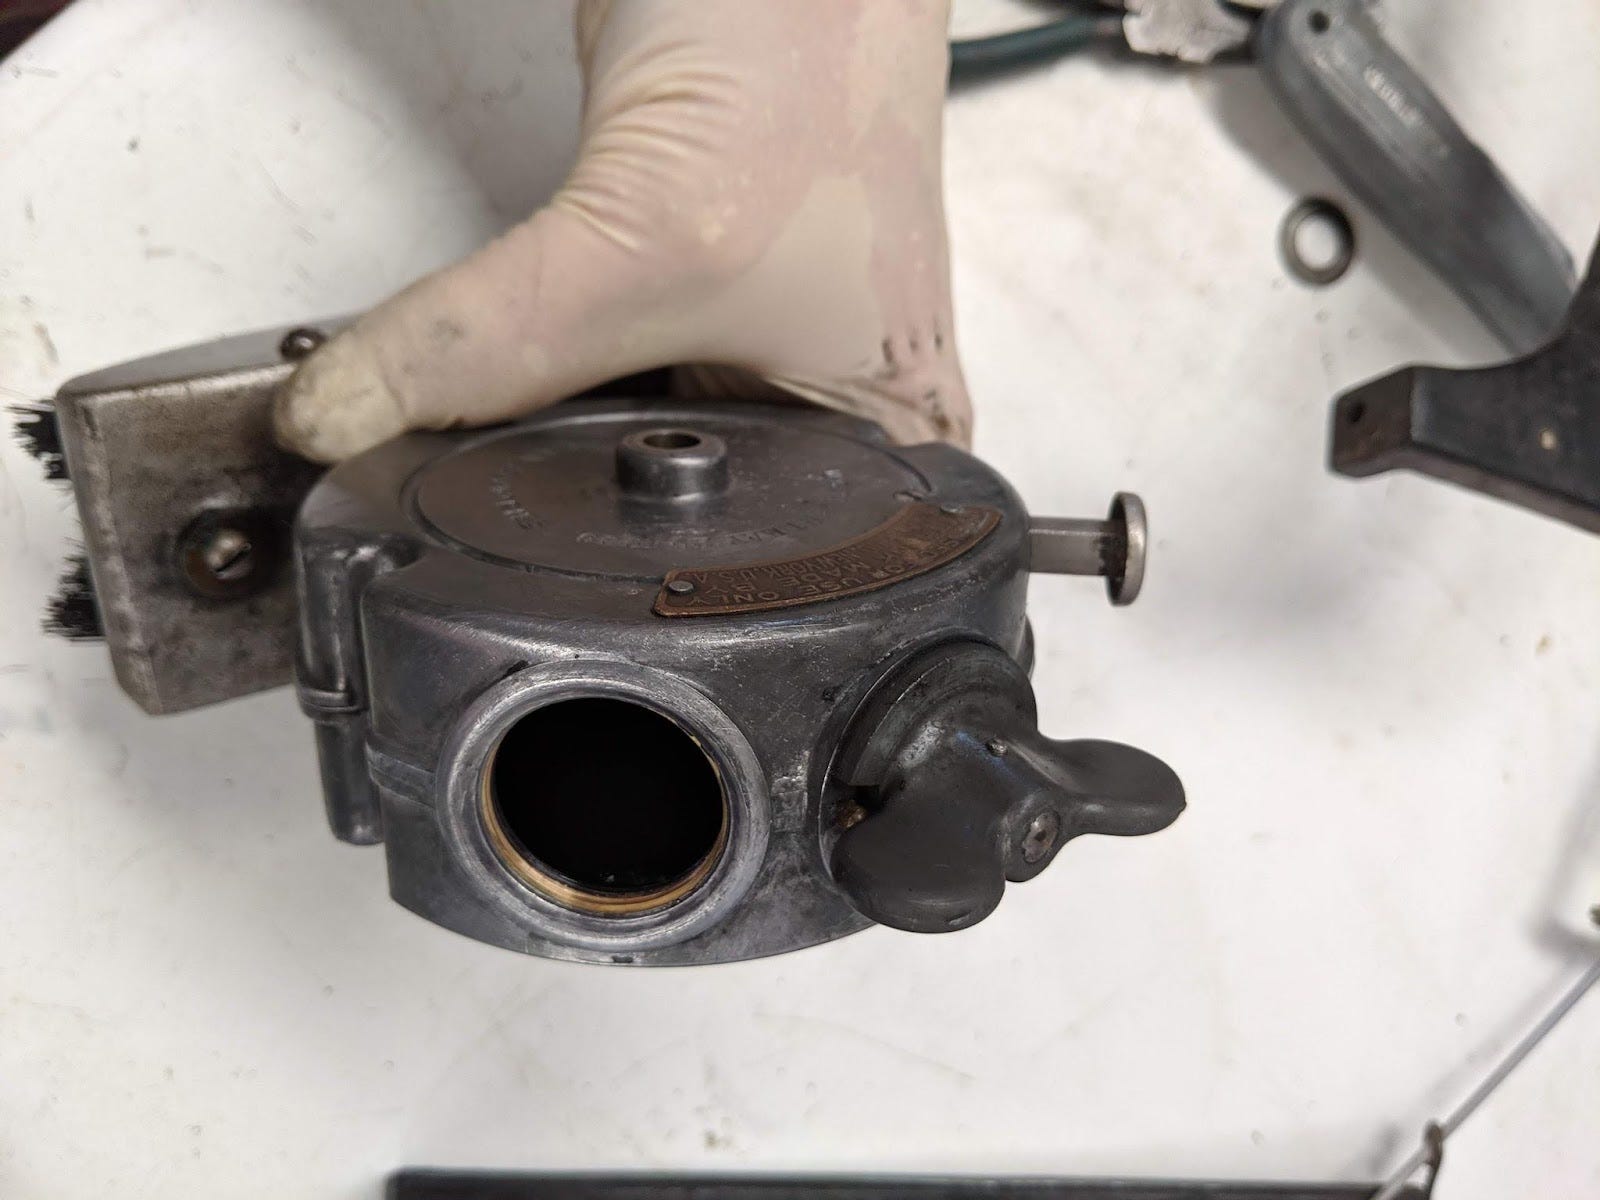
Ink gets put into the ink pot that is suspended on two rails inside the cylinder. The filler opening is below. The key above the filler is a metering knob, controlling how much ink actually gets applied to the inside of the cylinder. When actually duplicating, this key is turned off.
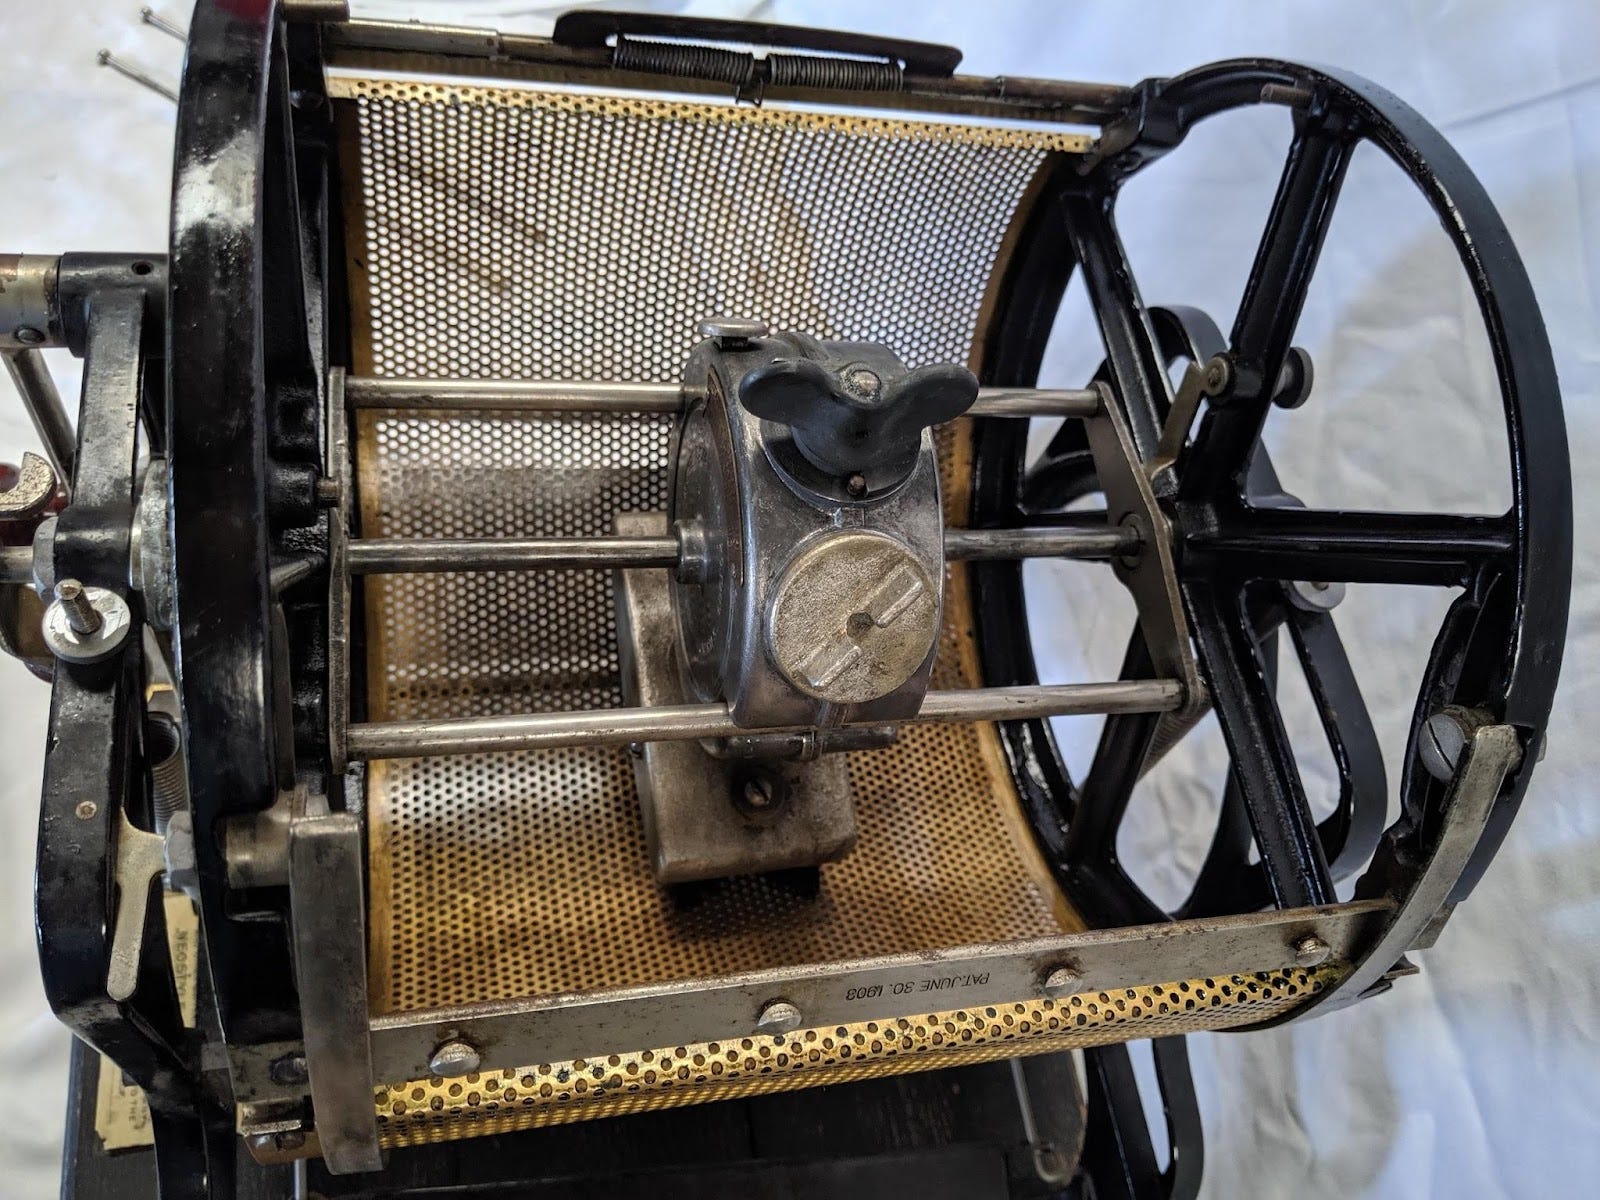
Once the ink is loaded and the inkpad (not shown) is installed, the inkpad is inked. There’s a brush on the underside of the ink pot.

Ink is released and spread all over the inside of the cylinder. This is done using a handle that slides out of the center of the cylinder and engages the ink pot, locking using the button at the 7:30 position in the photo above. The handle allows the brush to slide and rotate around the entire mesh interior of the cylinder.
Once disengaged, that handle slides into a “home” position out of the way of normal operation of the machine.
For runs of many copies, re-inking might be required.
Once the pad is inked up, you lay the stencil on top of it face-down, being careful to get it square and flat. The top clips into the leading edge of the drum.
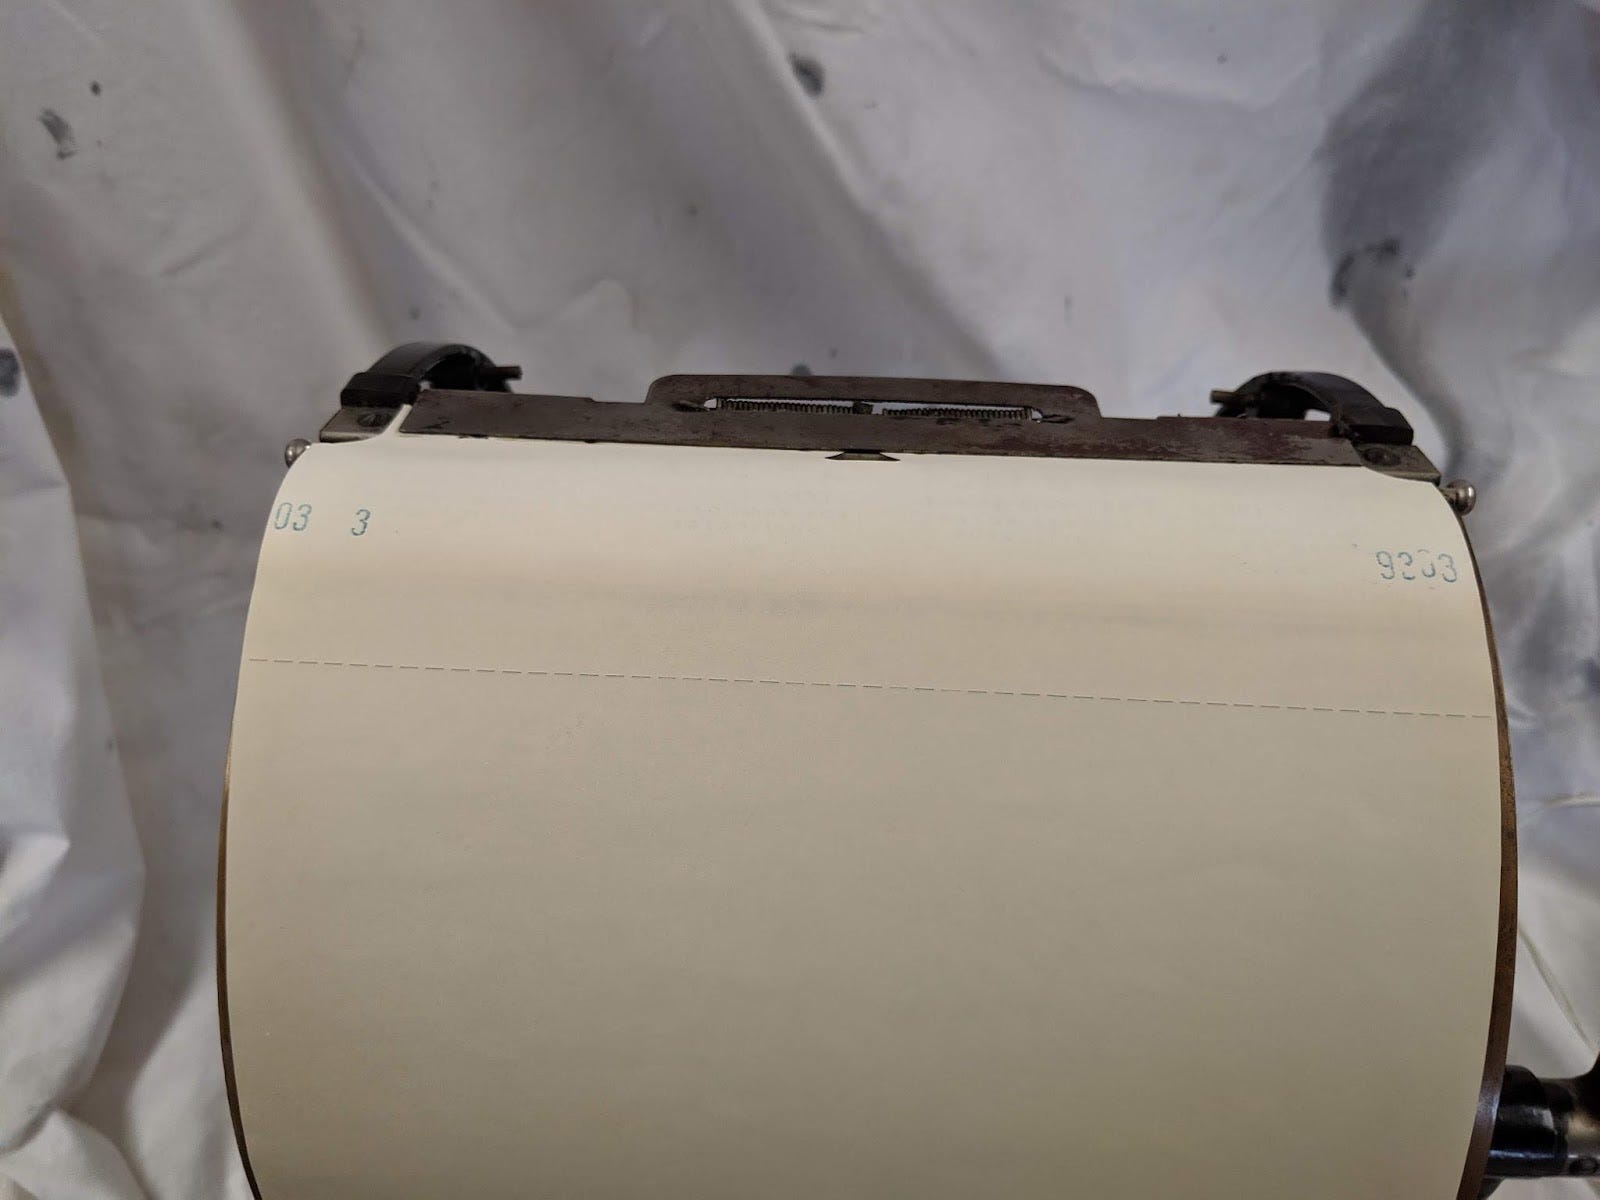
Here you can see the backing sheet is still on the stencil. When you’re ready to duplicate, you tear it off at the perforation in about the center of the picture.
The trailing edge is held in place by bales on either side of the stencil. The bales need to be placed outside of the size of a piece of paper to be printed.

(This is somewhat wrinkled because it isn’t stuck down with the ink it would be in genuine operation.)
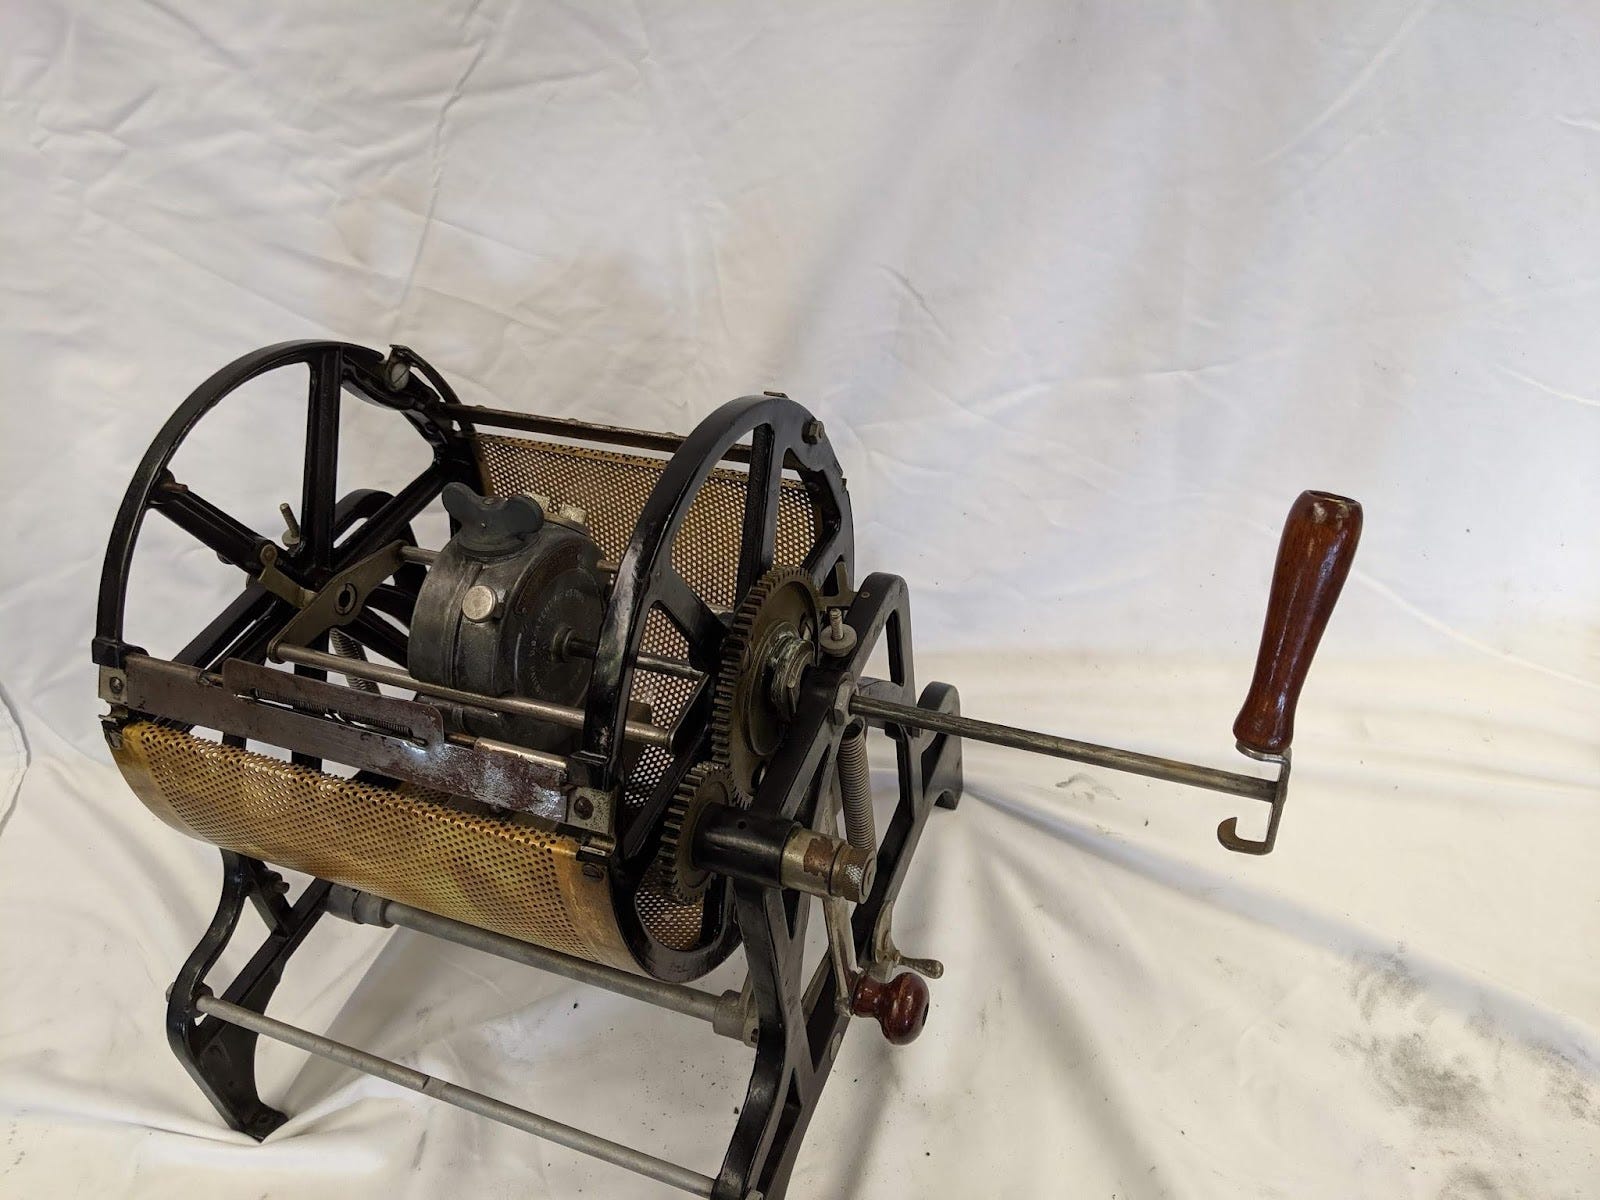
The wooden feed tray rests on a couple pins and the steel output tray extends on rails from under the main cylinder.
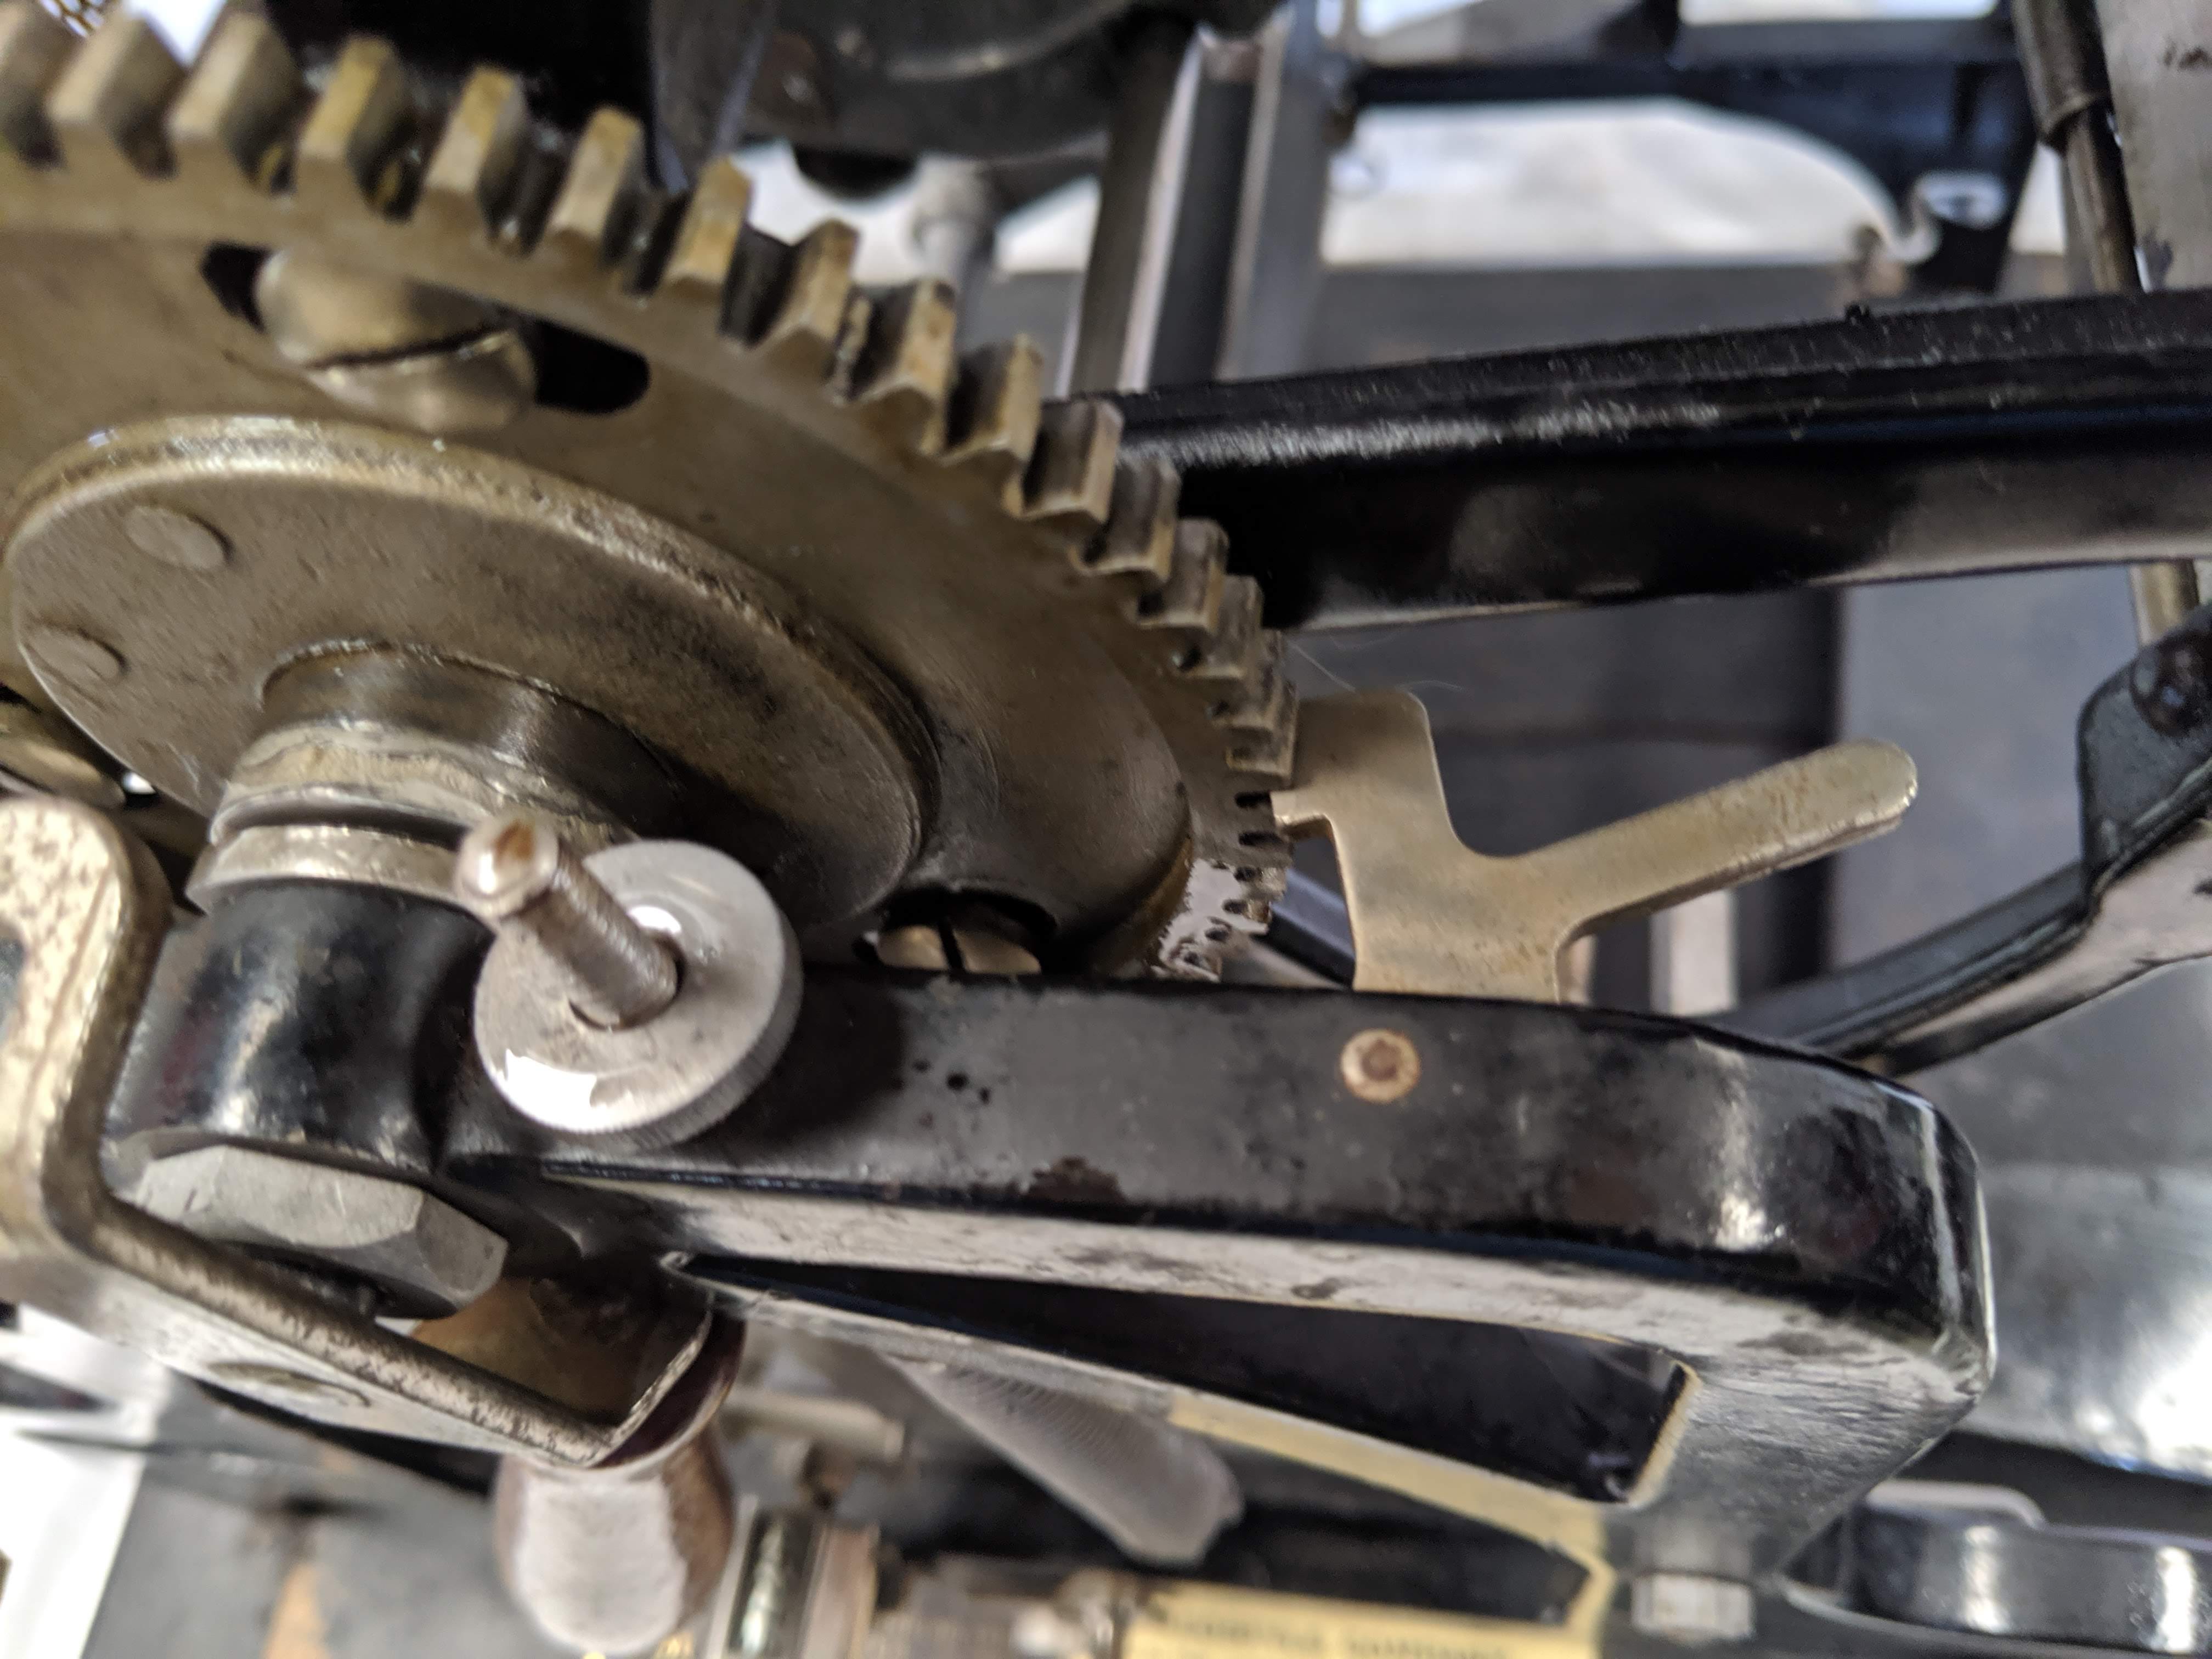
On this model, each sheet needs to be fed manually. There’s a bar under the main roller that acts as a stop for the paper, so feeding is fairly simple: just squarely load it against the bar. Two full revolutions of the crank rotates the main cylinder once. (Notice the pair of gears.)
There’s a pressure roller underneath the main drum.
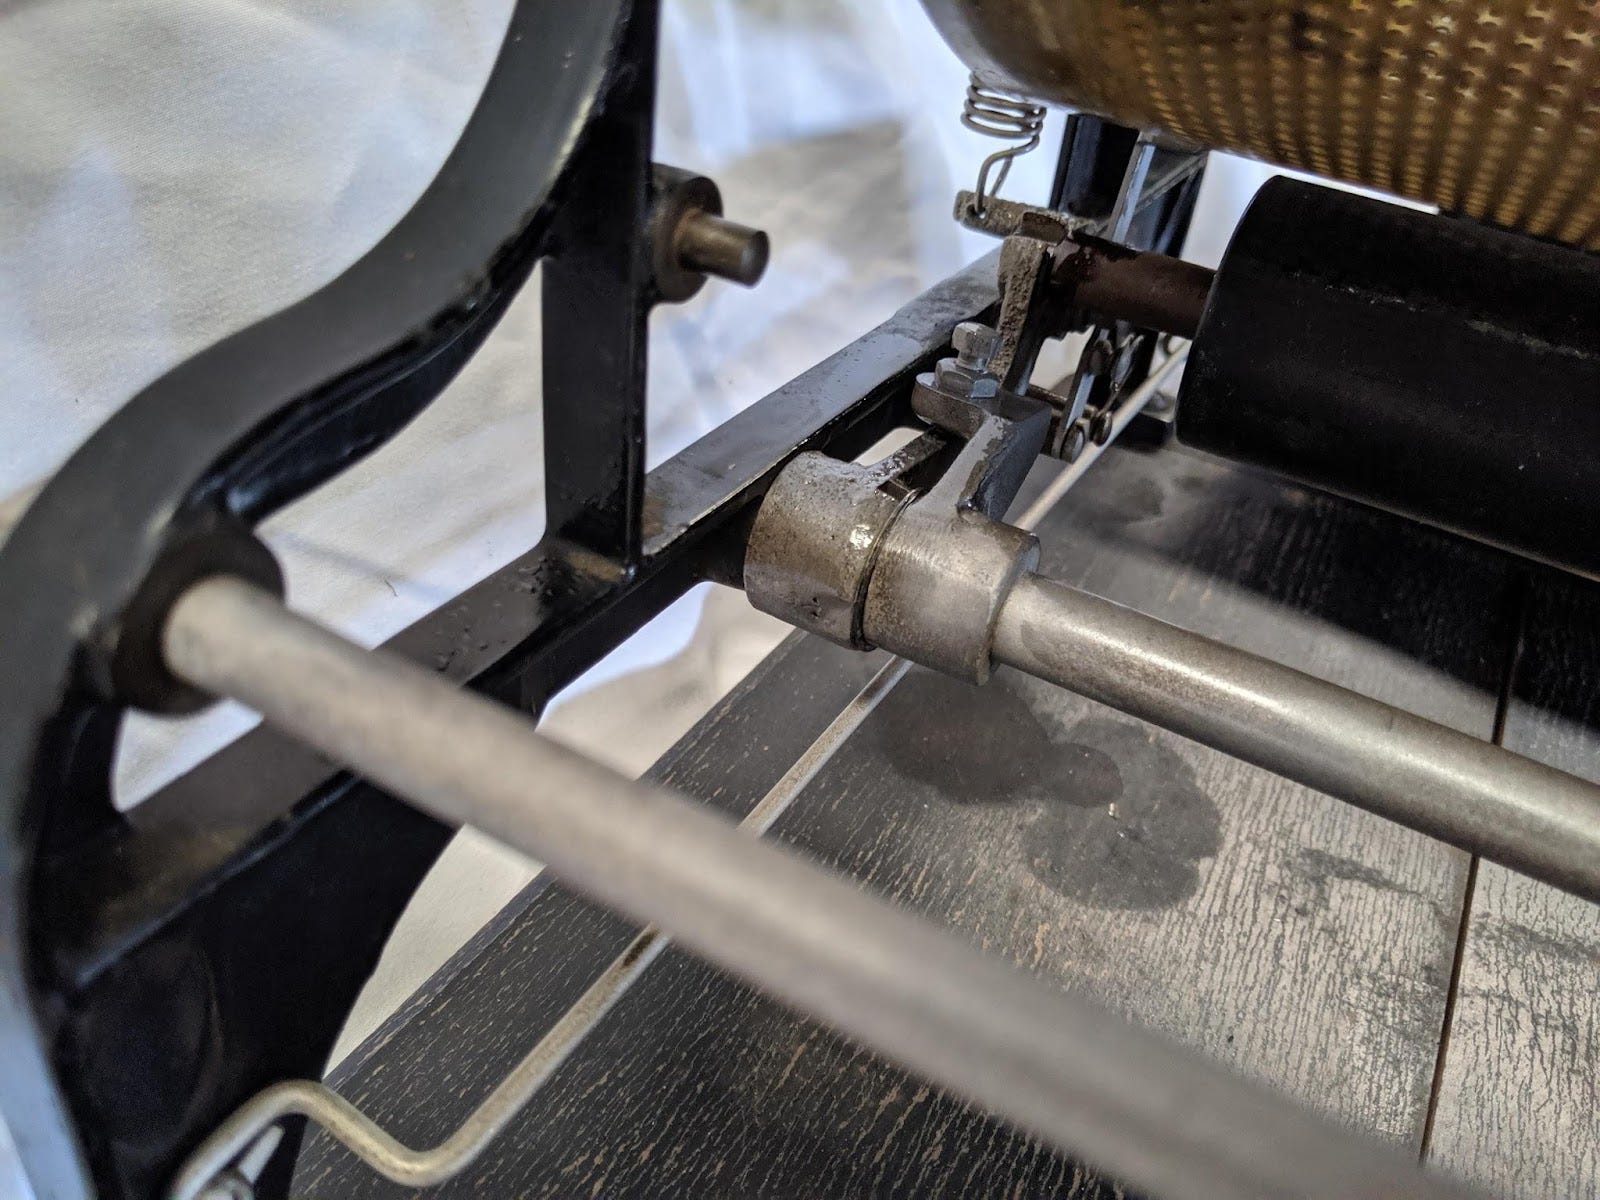
A couple of cam-driven arms raise the roller at the appropriate point of rotation to pinch the pressure roller to the main drum and pull in the paper. You never want to rotate the drum without paper or you’ll end up with ink on the pressure roller. This would require a break in operations to clean the pressure roller.
On the “newspaper” above, you can see some small remnants of this problem on the right side of the sheet, with the darkest at the top and gradually getting lighter as the ink gets used up.
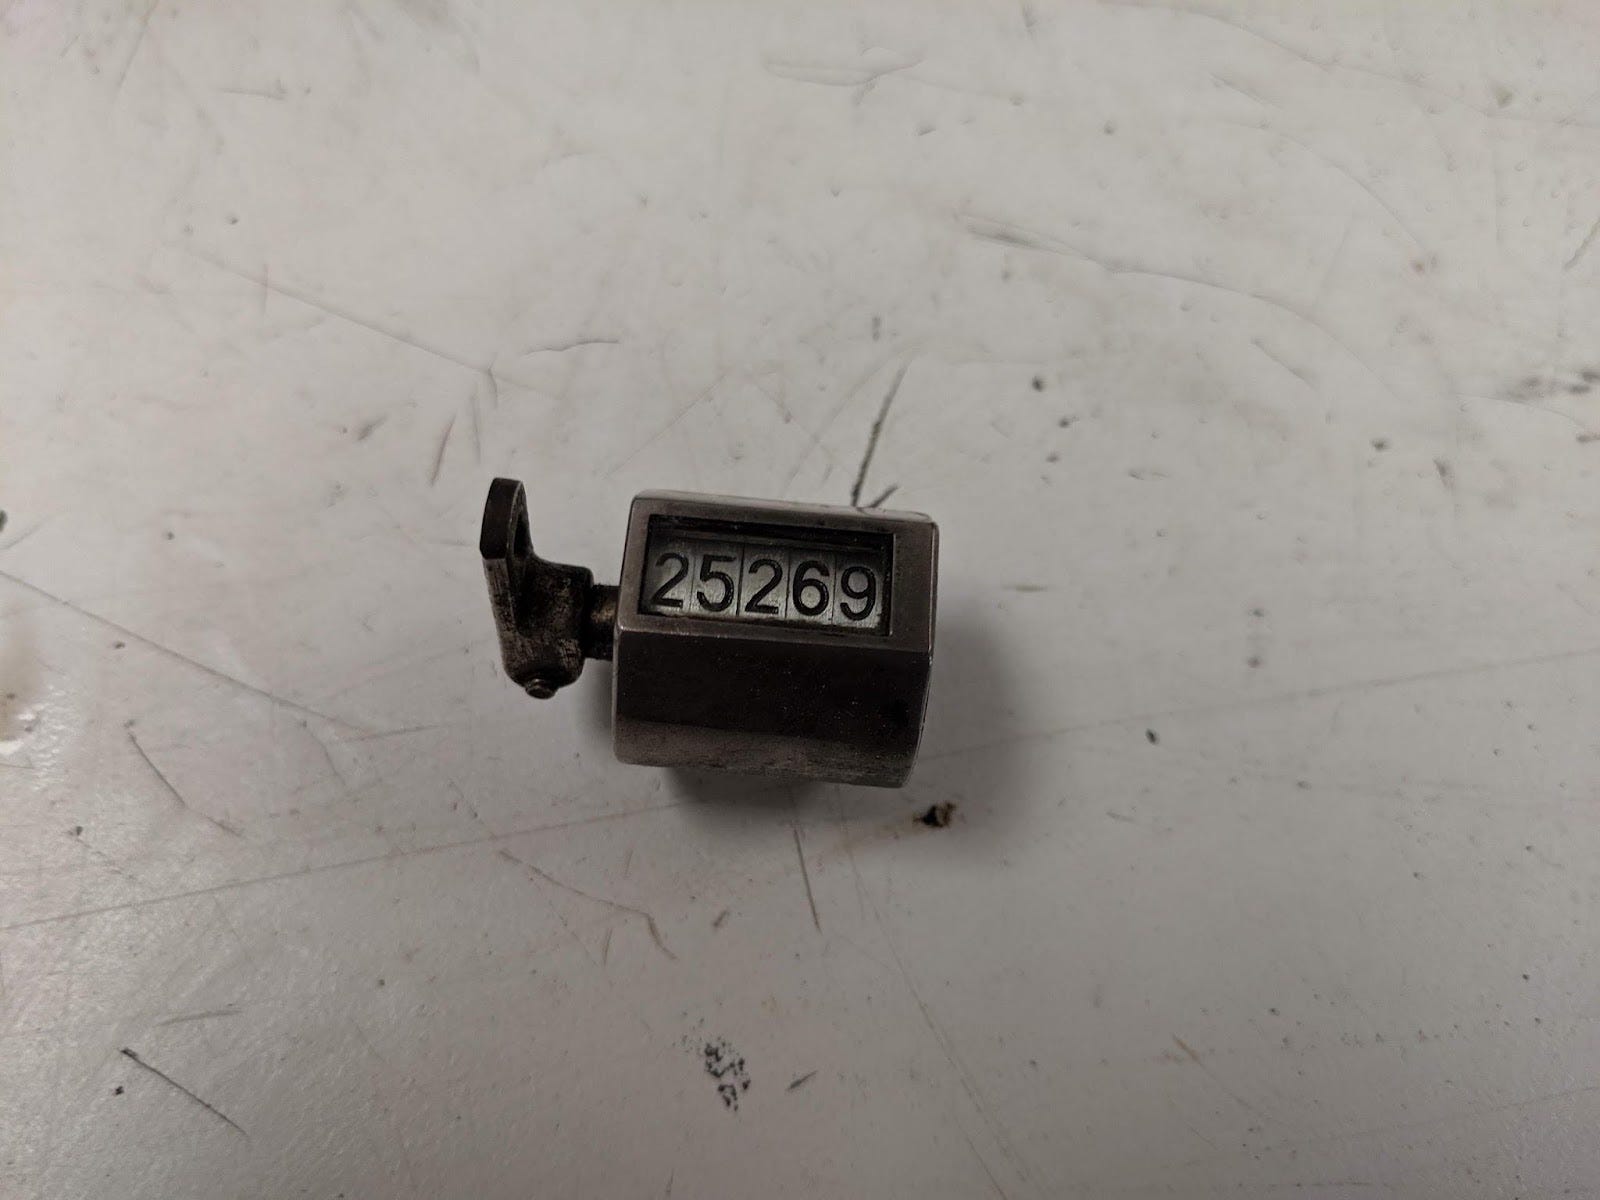
If you’re doing any sizable run, there’s a counter so you know how many copies you’ve made.

The lever next to the counter can be rotated to force the pressure roller to stay out of contact with the drum. You’d use this if you needed to re-ink the drum, with its stencil pointed down. You lock the drum into position with a cog that engages the drive gear.
If you need any of these instructions, or how to order more accessories, it’s all printed in detail on the inside of the cover.
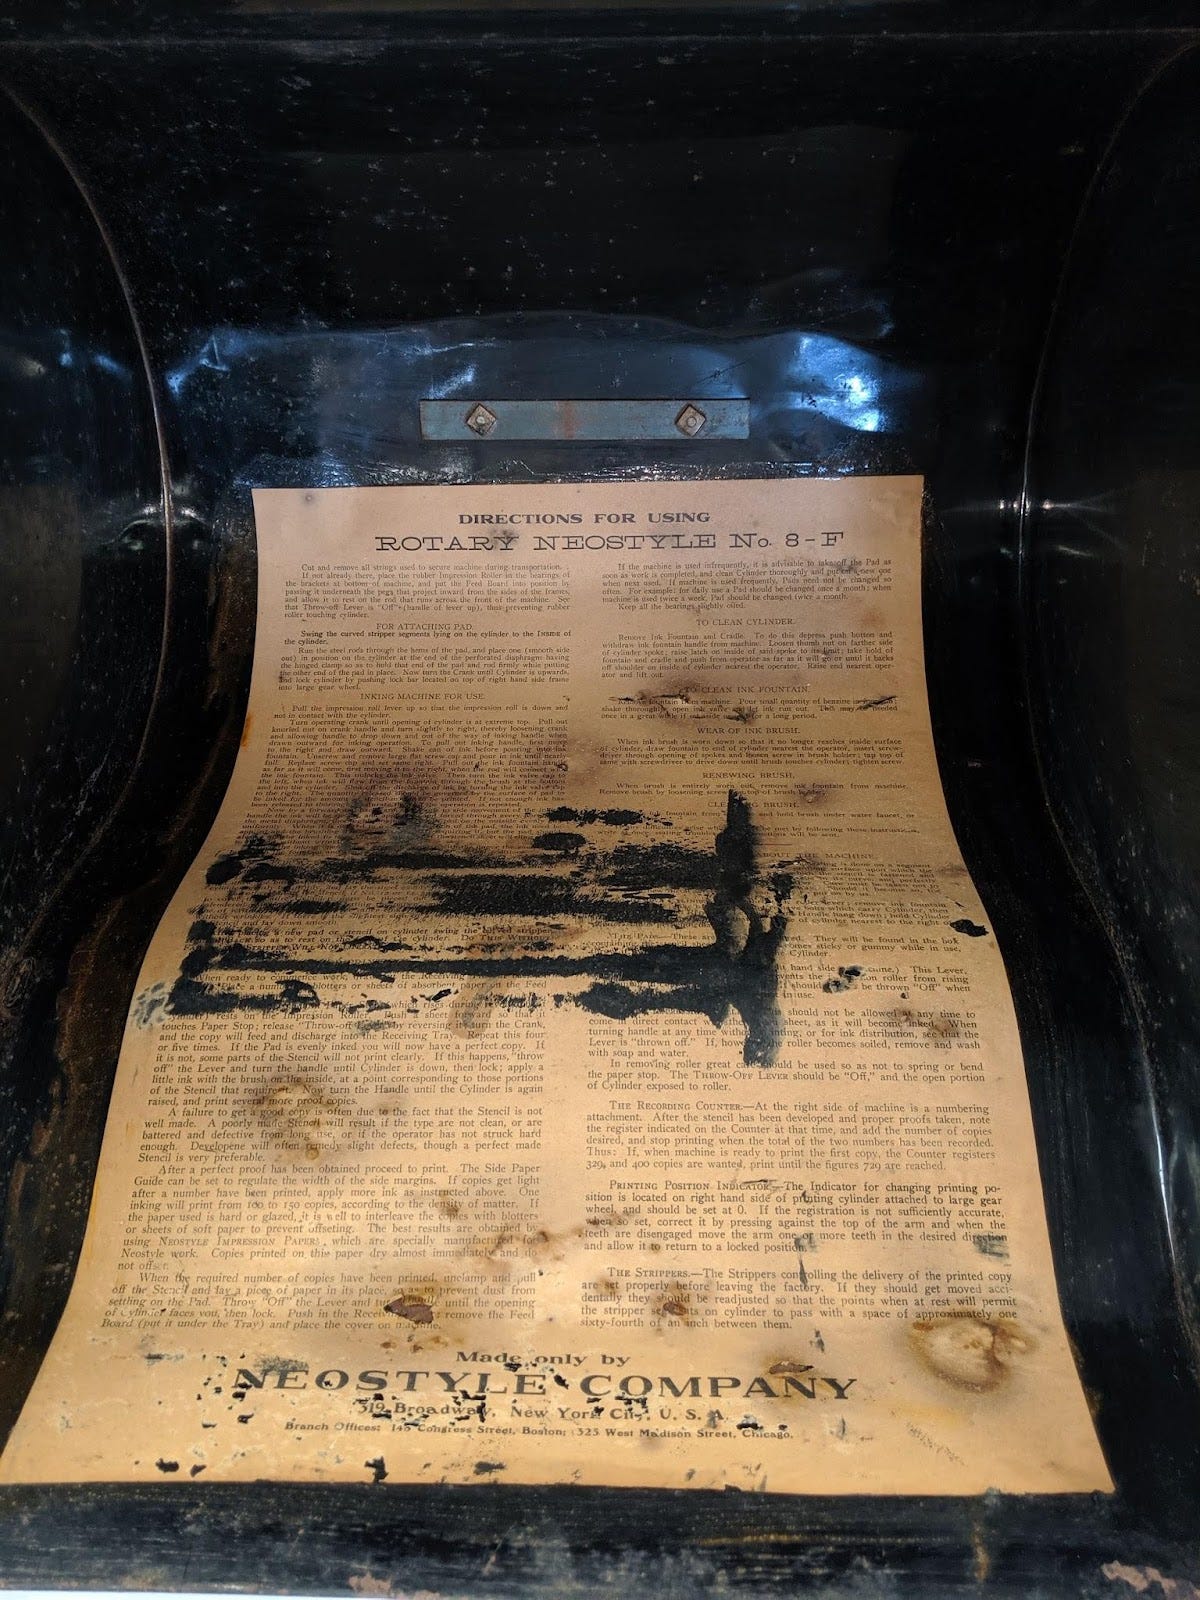
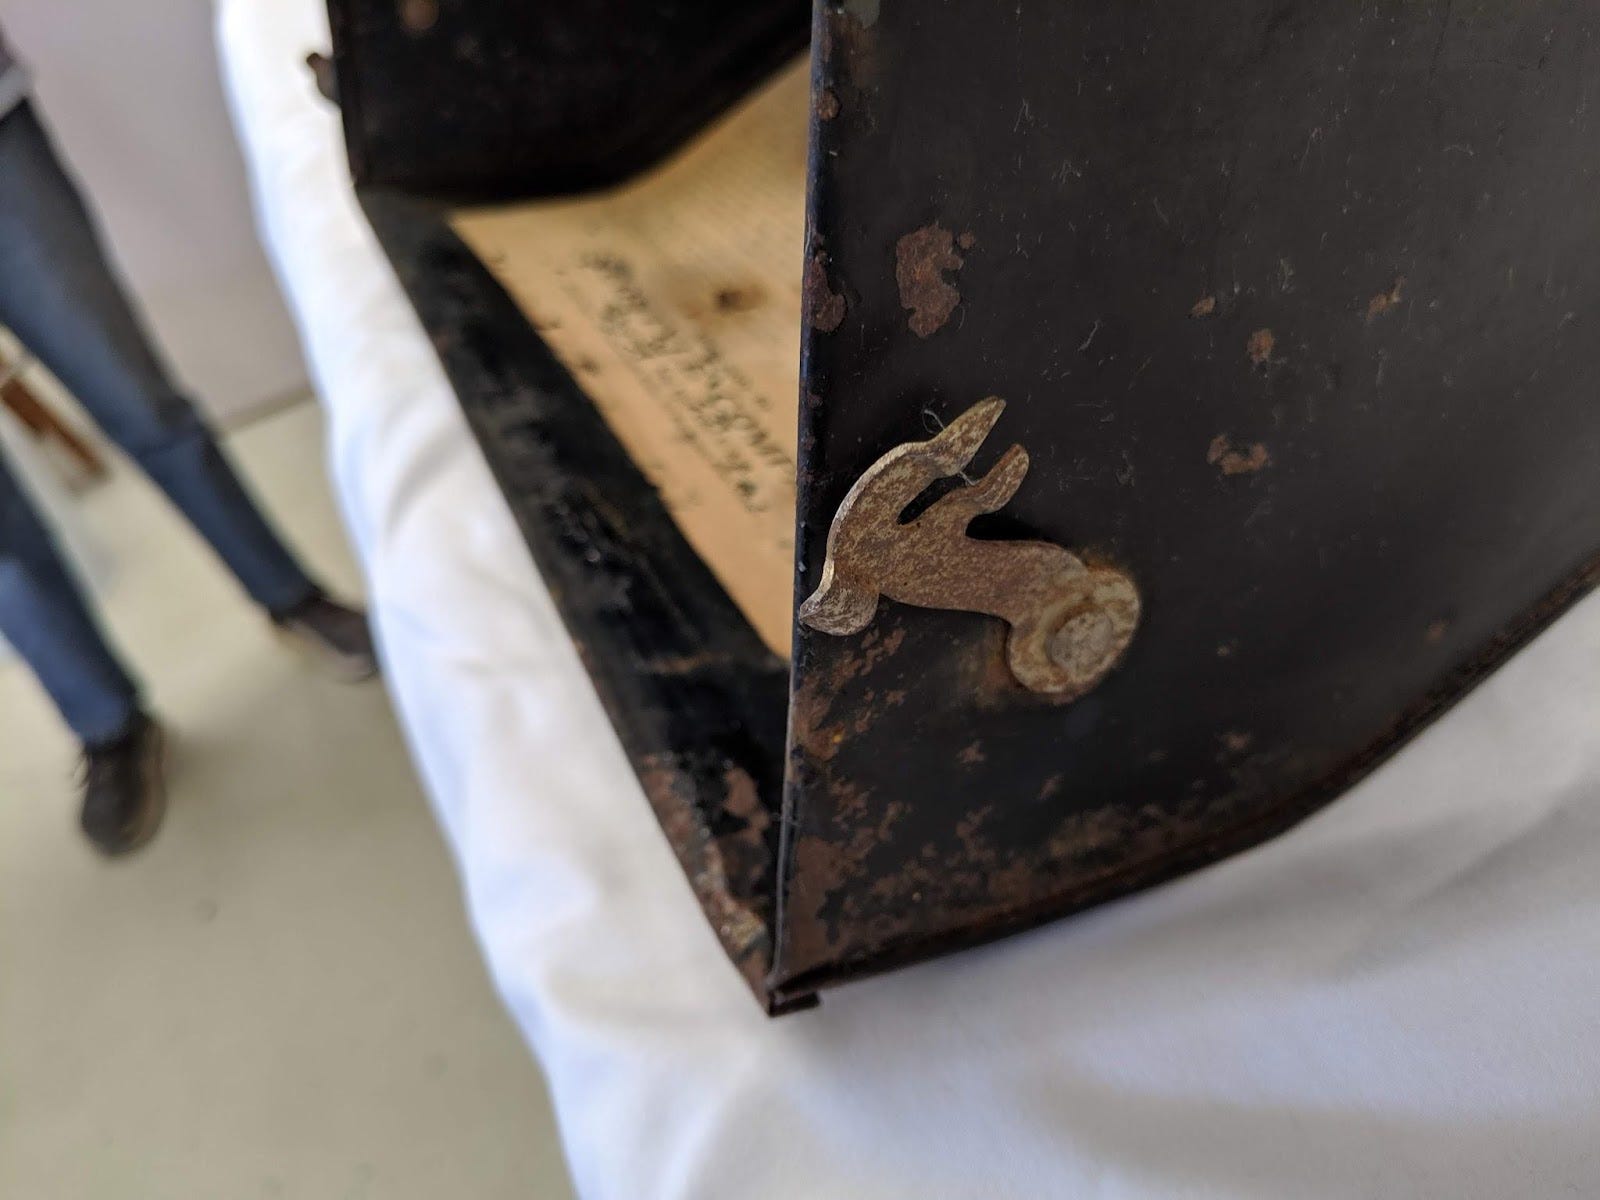
The cover, itself, protects the machine nicely and has hooks into the base so you can carry it around.
About a year ago, I opened this up to see if it was something a museum might be interested in. It was dirty and had some surface rust, but all the mechanisms worked.
Linda and I spent several days pulling it apart, cleaning it up, bead-blasting the rust, lubricating it, and putting it back together.
Before cleanup, there was still a pad and stencil on it. There’s waxed paper visible covering the part of the stencil that’s cut.
You’re able to save and reuse stencils by storing them between waxed paper, provided the ink doesn’t dry completely, which would likely end up ripping the stencil.
The old pad and stencil had to be pried off the drum in chunks, because it was so old and hardened. (The stencil was likely the last page of the last newspaper we produced.)
This detail shot shows the wrinkled waxed paper on the stencil, as well as the crud and grime on the base and the discharge tray, slid in on its rails beneath the machine.
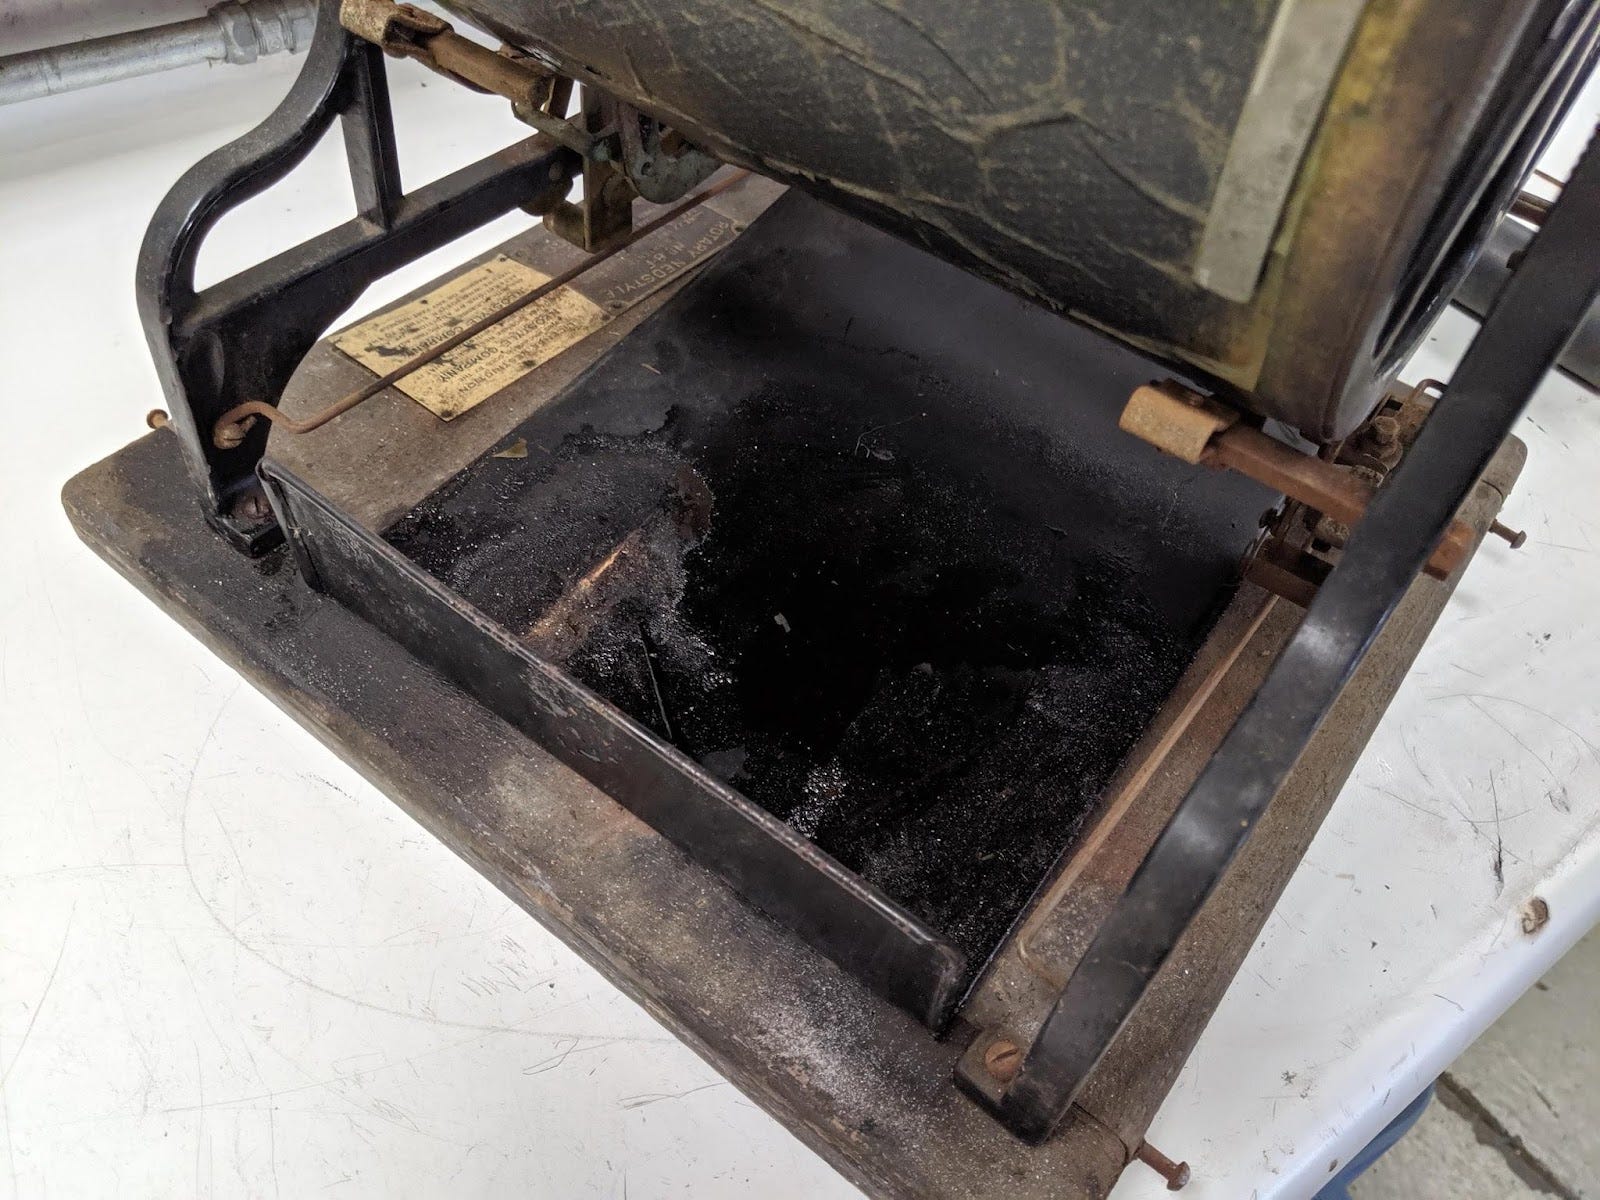
You can see the surface rust that was subsequently removed, as well.
It was simple enough to disassemble. After disconnected from the base, there were only two rods and the main spindle holding the two sides together. Once separated, all the pieces were free.
Linda cleaned up the base and a lot of components.
I used a load of brake cleaner and printer’s blanket wash on the drum and ink pot.
The drum required a lot of solvent to get looking respectable. Here you can see the cam that activates the pressure roller.
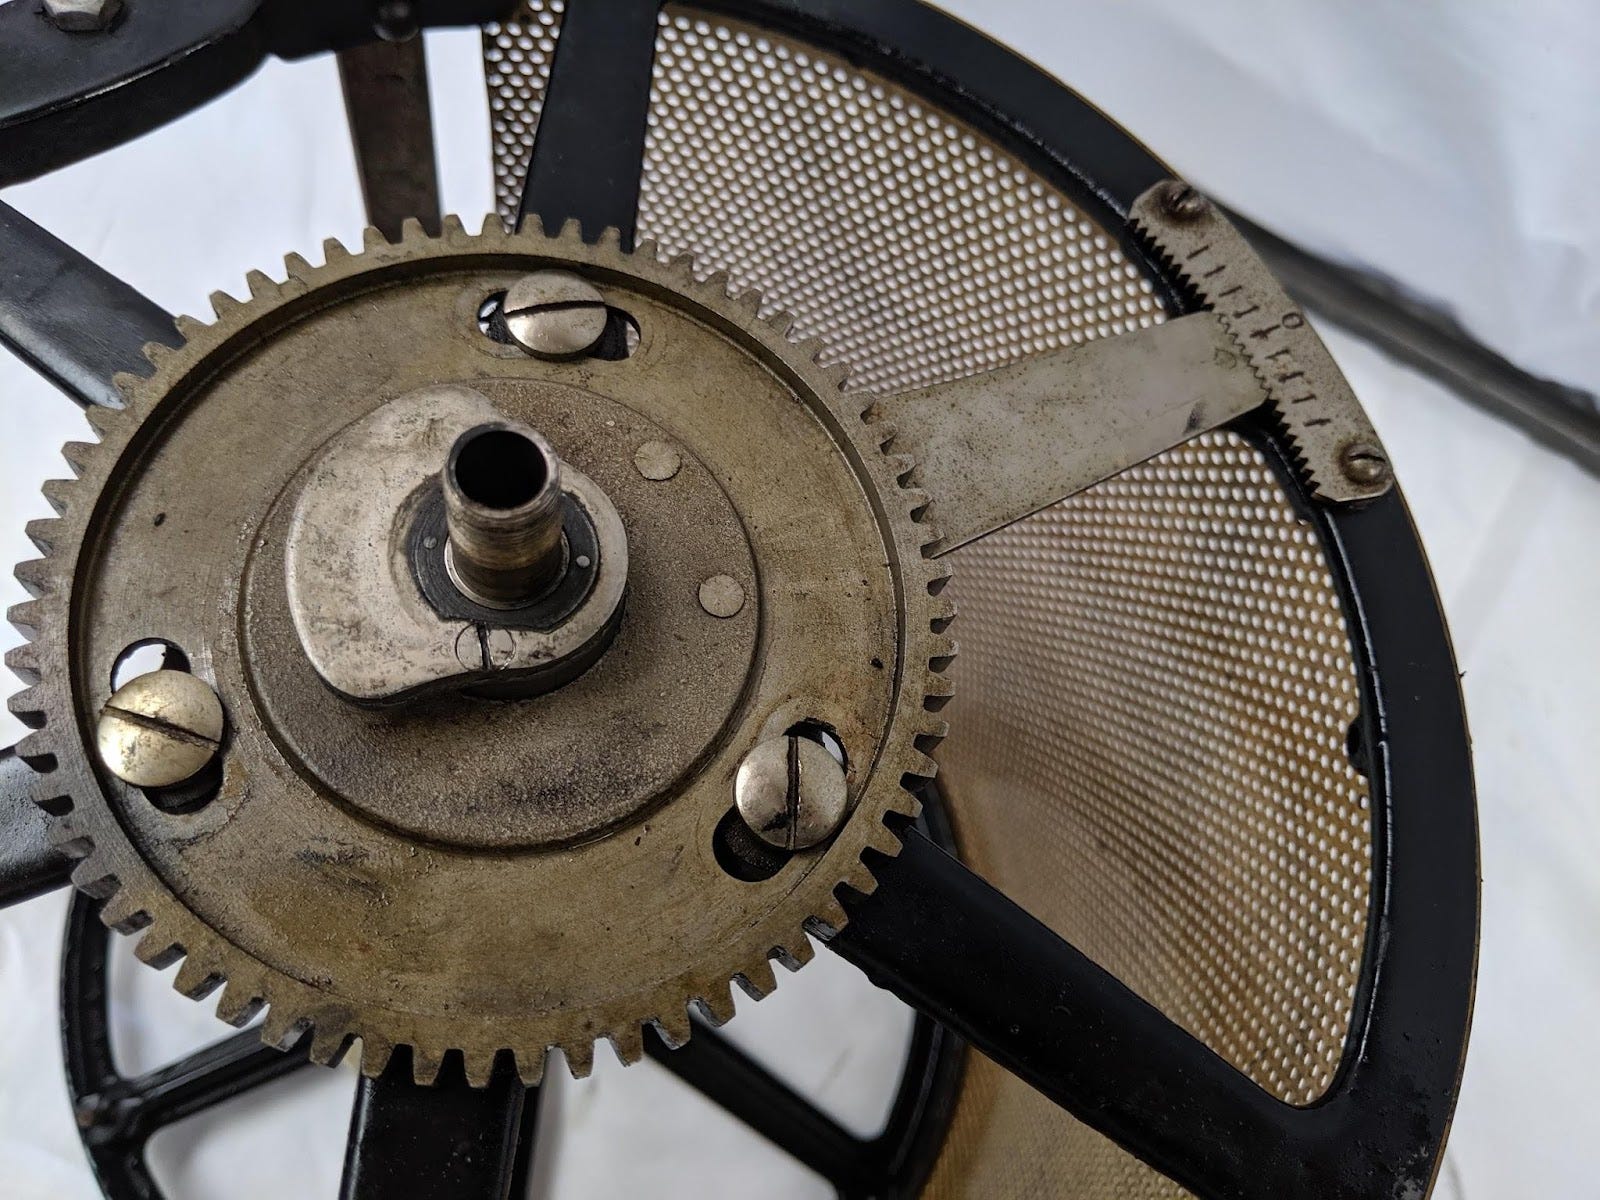
I cleaned up the gear more after this photo was taken. The counter did brighten up nicely.
Fitting the ink pot in proved tricky, as the holder for the rails it slides on are asymmetric. We, of course, installed it the wrong orientation, first.
To top it all off, the cover looked much better after Linda was done with it.
When finished, it became a worthy museum piece. It has the wooden feed plate that you don’t find on many examples. When I got it from my parents the wooden tray wasn’t with it, either. I found it while poking around their garage for something else several years later.
If you search online, one of the first hits is often the one at the Henry Ford museum. I have sent them a note telling them they have it assembled incorrectly. They replied saying they would be back in touch next time it was out of storage, but that was over a year ago.
Most of the ones on Ebay (for ludicrous prices) haven’t been cleaned up, either.
I have no intention of printing anything more on it. Blogs are a much easier distribution method, and after cleaning it once, I’m not inclined to do it again. But it was an interesting enough project that I thought I’d share it.